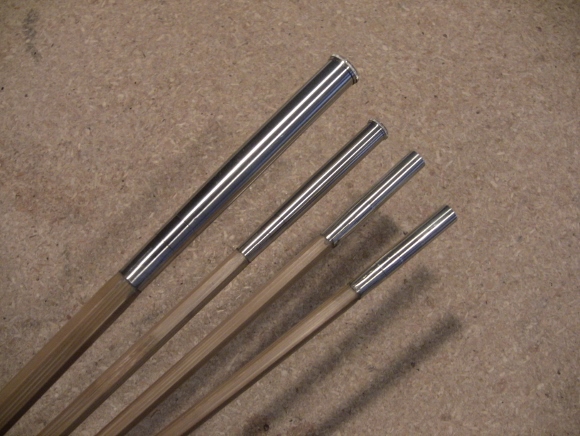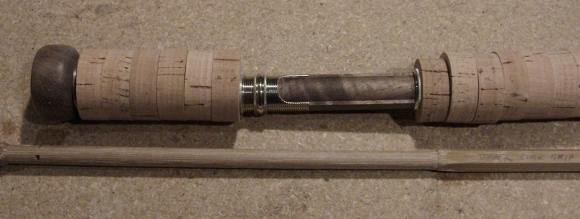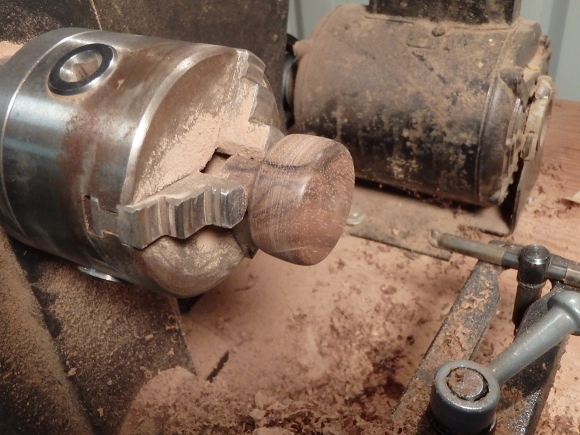
Larry asked a great question…what kind of lathe (s) do I use in my rod building? I use two older lathes, neither of which is/was very expensive. First, I have an older Craftsman wood lathe that I use for making reel seats, sanding cork grips, and sanding down rod tubes.
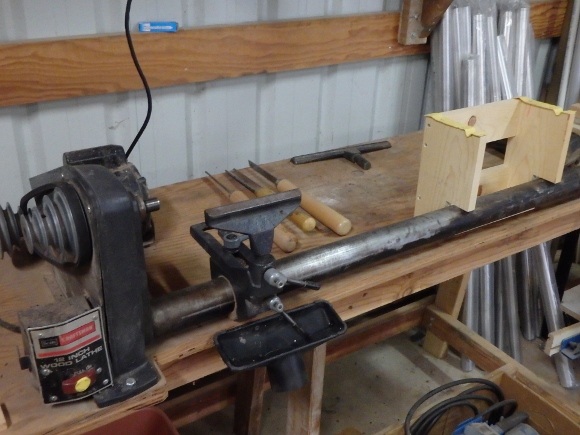
My Wood Lathe
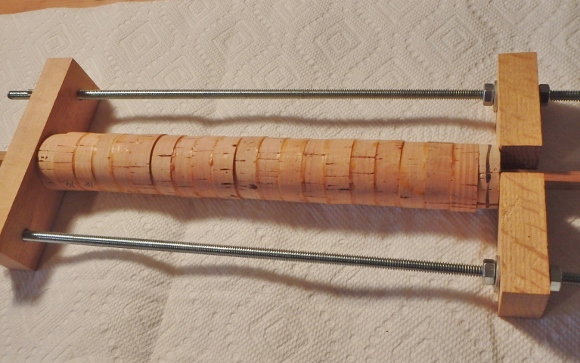
The wood fixture on the right side of the picture supports the end of butt sections when I sand down cork grips. Two notches with strips of leather chamois applied work pretty well to support the ferrule end of the butt section while the grip end is secured in a 3-jawed chuck in the lathe head.
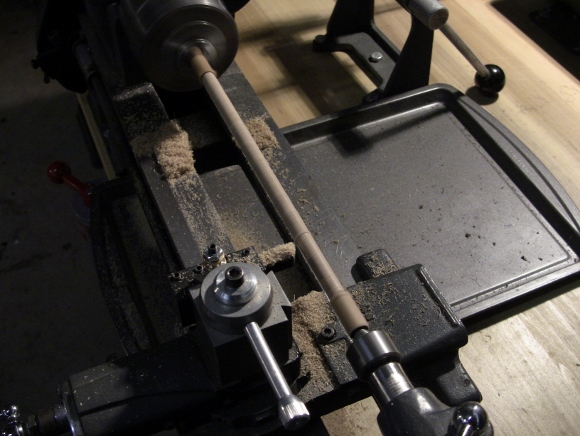
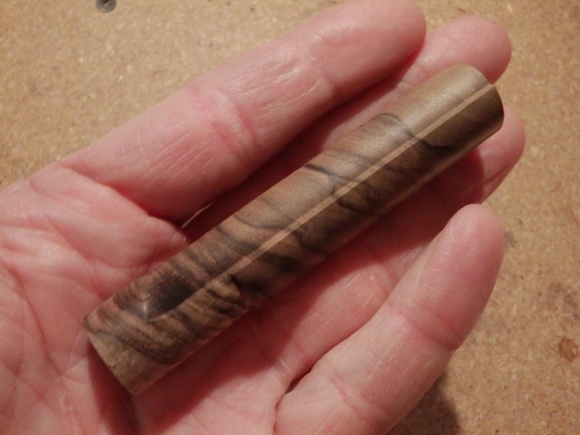
I also have a small Atlas/Craftsman Mk 1 metal lathe that I use to machine small metal parts (winding checks, trim pieces, etc.) as well as turning down bamboo for ferrules and grip sections.
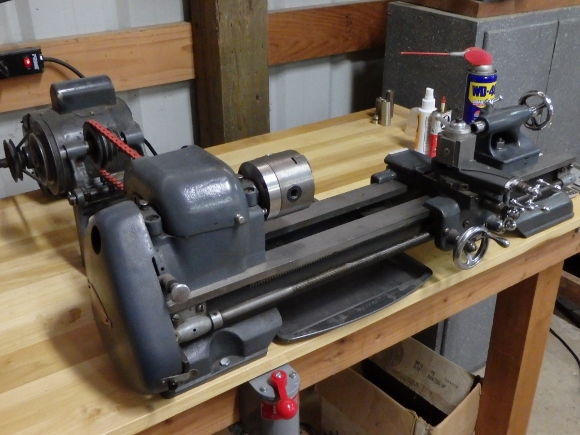
My Small Metal Lathe
While it would be fun to have newer and larger lathes in my shop, I find that these two do just about everything I need. By the way…things don’t normally look this clean and organized in my shop…I cleaned up for the photos.