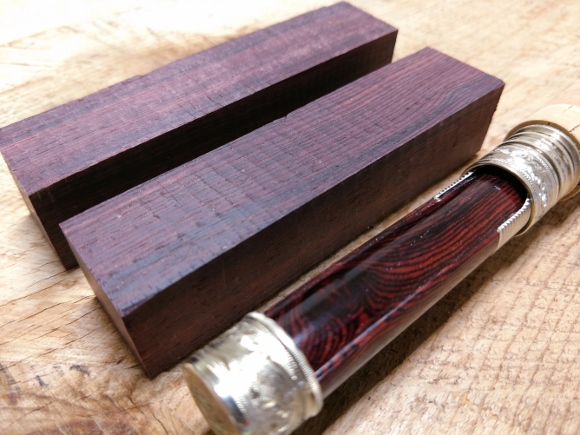
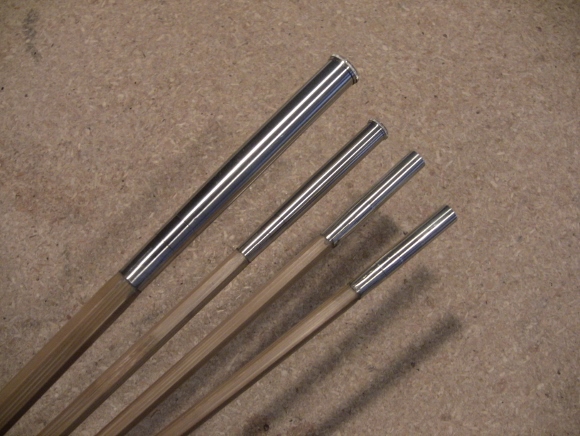
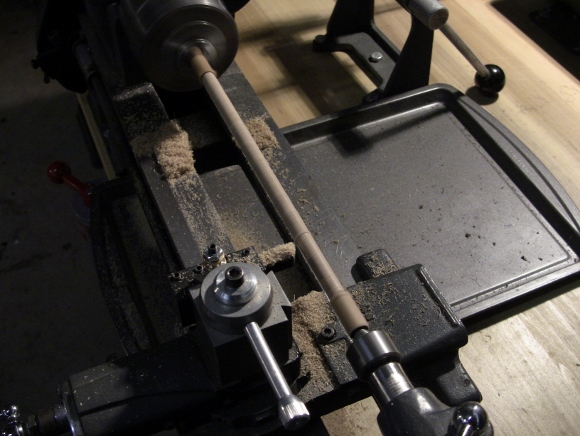
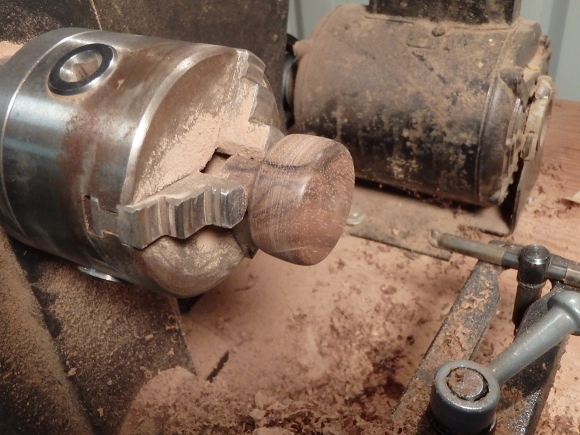
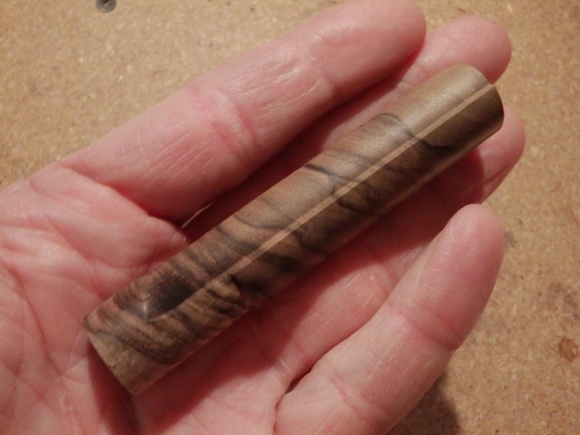
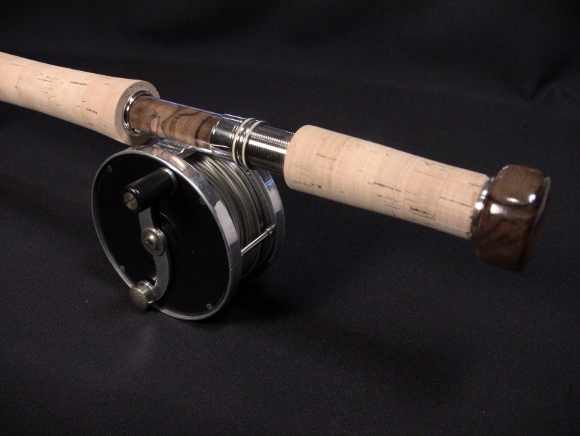
I’ve been making good progress on my hollow-built bamboo switch rod. The next step was making a custom winding check. Bill Bennett at Bellingers made a few of these for me last year and has inspired me to build my own. I machine small pieces of nickel/silver for the winding check, and then machine and polish black acrylic as the trim piece. They look pretty nice on my switch rods.
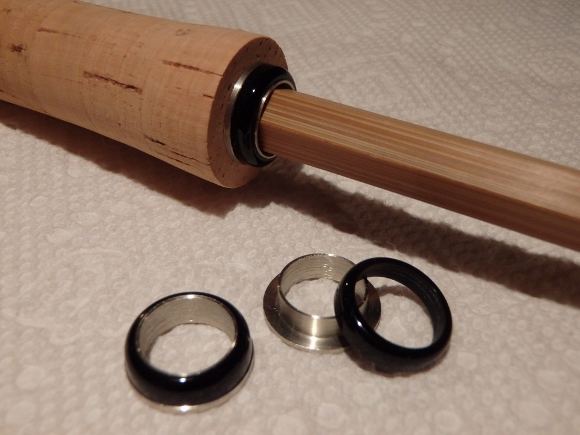
Custom Machined Winding Checks
Then it was time to blue the ferrules. I use Brownells Oxpho-Blue liquid gun bluing solution on my nickel/silver ferrules. First, the areas I don’t want blued get masked off with tape. I then wipe a cotton swab drenched in the bluing solution over the ferrule, always making sure I move over the entire surface that I want blued. It takes about 30 to 45 seconds at room temperature to get the desired effect. Here is what it looks like:
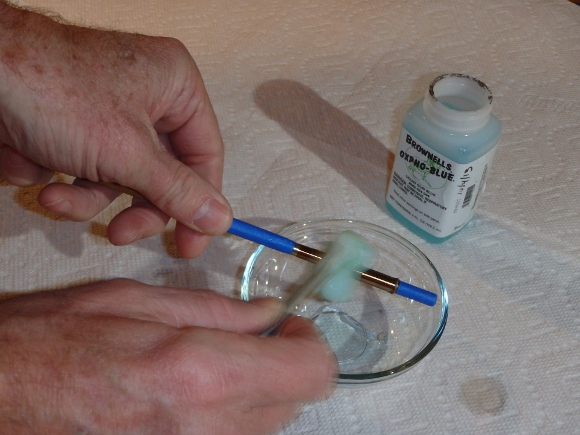
Bluing a Nickel/Silver Ferrule.
It’s important to rinse the ferrule very well in running water to remove all the residual bluing solution. Let it dry, and then spray the blued surface of the ferrule with a clear lacquer to protect it. I use Rust-Oleum Painter’s Touch Crystal Clear Gloss in a spray can, but any good clear lacquer should work fine. Then it was on to wrapping the guides. As with all my switch rods, I use black thread with straw and claret tipping on my wraps. I use Pearsall’s Naples thread on the ferrules, and Pearsall’s Gossamer thread on the snake guides. The Stripping Guide is a 16 mm Black Banded Agate guilde.
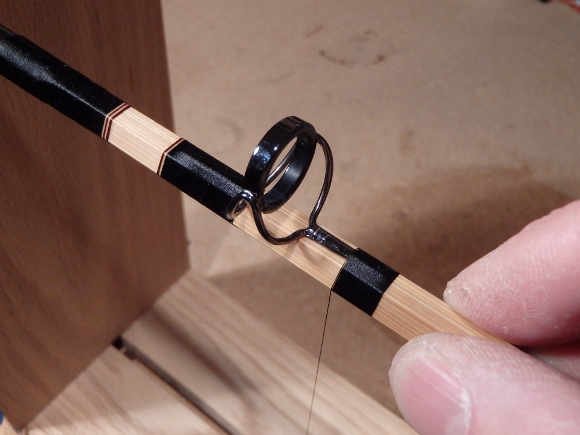
Wrapping a Black Banded Agate Stripping Guide
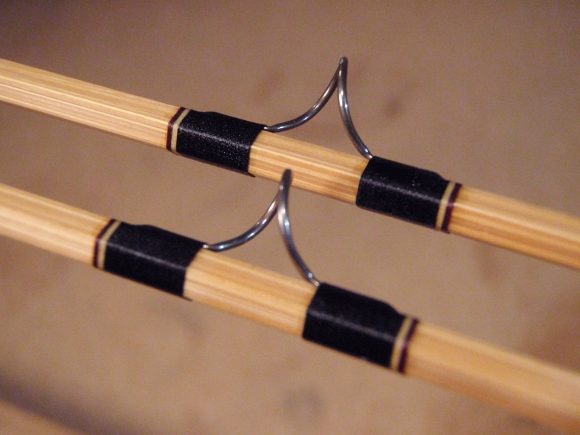
Snake Guides on my Switch Rod.
Finally, after coating all the guide wraps with 8 coats of Varathane 900 Gloss, the rod was ready for finishing in my dipping tube process. I put on 6 coats of polyurethane on my rods, using a dip tube filled with finish. Each rod section is dipped into the finish and slowly pulled out. The finish just runs off all the guides. It takes about 2 hours to dip an entire rod.

The Butt Section coming out of the dip tube of finish.
It’s a slow process…kinda like watching paint dry! After a day of drying time, each section gets a thorough sanding with 1500 grit sand paper, first the flats on the thread wraps, and then the flats on the bamboo.
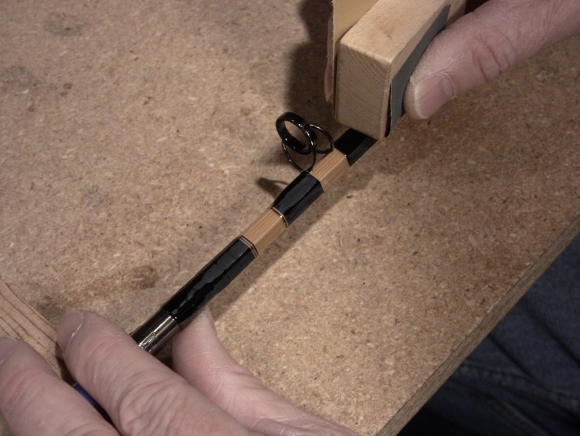
Sanding the thread wraps after the fifth coat of finish.
Finally, after six dips and a final 48 hours of drying time, the finish gets rubbed out with a polishing compound. I use Meguiars Mirror Glaze 83 as a polishing compound and a small felt pad. This process helps take out any dust particles that have made their way onto the finish coat.
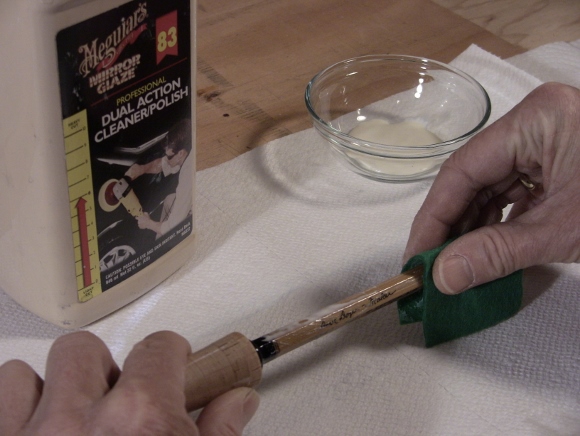
Polishing after the final finish dip.
And that’s it. After doing a final fitting of the ferrules, the Hollow-Built Switch Rod is finished.
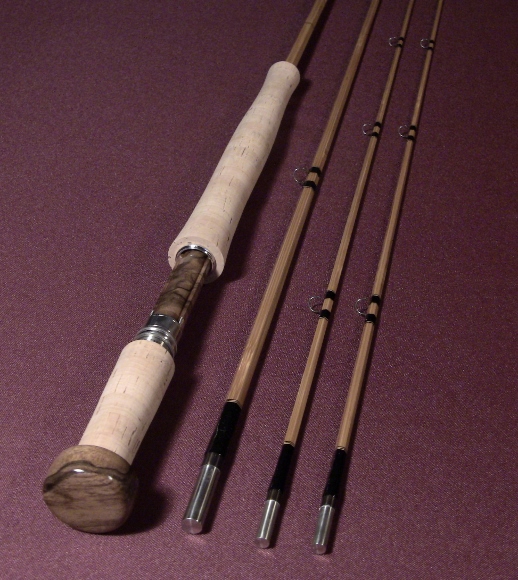
The finished Hollow-Built Switch Rod.
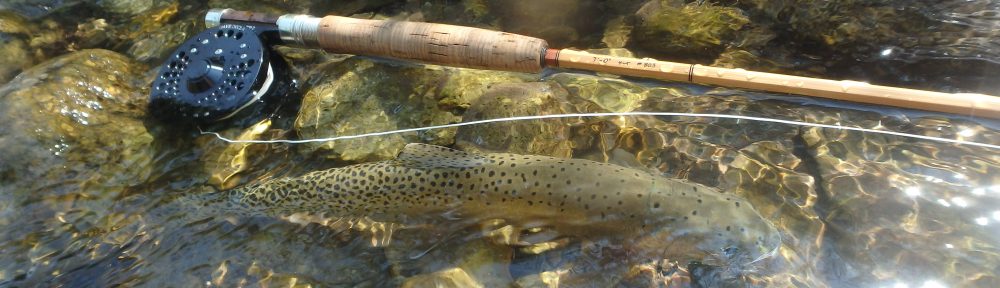
And of course, I had to do a little casting down on the river this afternoon….
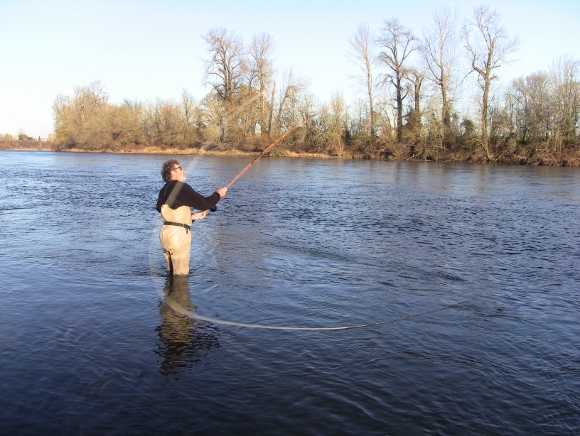
Casting a Hollow-Built Switch Rod.