Determining the line weight of a bamboo fly rod.

A good friend and fellow bamboo rod builder (Skip Hosfield) sent this to me.  I’m not sure who developed this procedure so I can’t give him/her the credit they deserve…it works quite well.

1)  Accurately measure the distance from the rod tip to the front of the cork grip (not the entire rod length).  Divide that number by 10.  Example:  96″/10=9.6

2) Clamp the rod grip to a table so that the rod is horizontal next to a wall.  Mark the position of the tip of the rod on the wall.  Put a paper clip through the top of a small plastic bag and hang the paper clip and bag to the tip of the rod.  Slowly add small weights (coins, washers, nuts, etc.) to the bag until the tip flexes down exactly 1/10 of the measured rod length: Above example 9.6″.

3) Remove the plastic bag, paper clip, and the weights you’ve added and weight everything on a gram scale.  Example:  Paper clip, bag, and coins collectively weighed 20 grams.

4) Divide the measured weight by adjusted rod length to get a grams/length ratio.  Match the ratio to the recommended line weight in the table below:  Example 20 grams/9.6″=2.1.  This rod is about a 5 wt. rod.

Ratio            Recommended Line Weight

1.4 – 1.6                              3

1.6 – 1.9                              4

1.9 – 2.2                             5

2.2 – 2.6                            6

2.6 – 3.0                            7

3.0 – 3.5                            8

3.5 – 4.2                            9

4.2 – 5.0                           10


New Switch Rod Comes Off The Bench

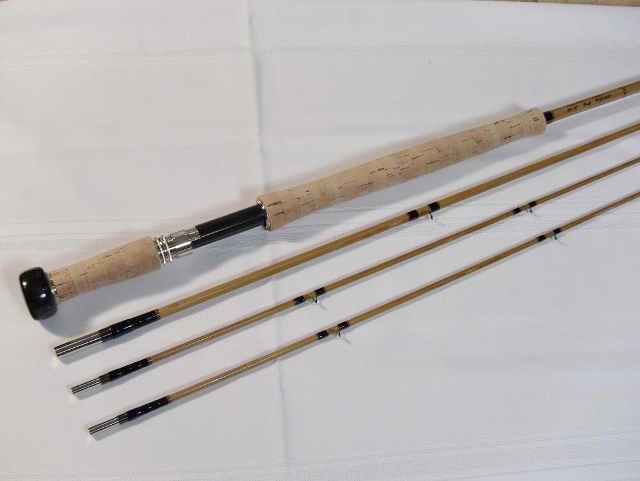
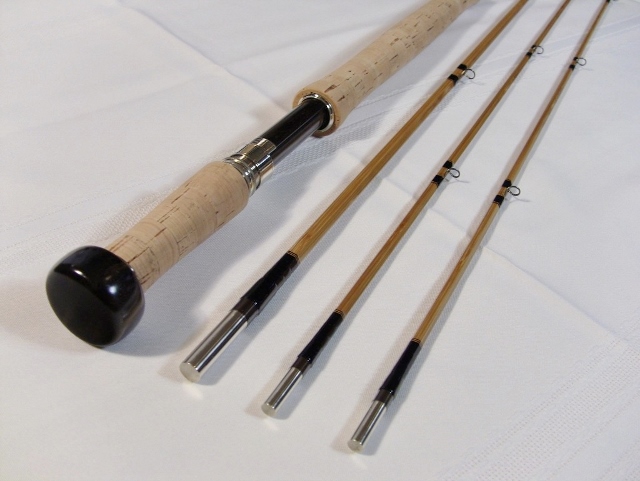
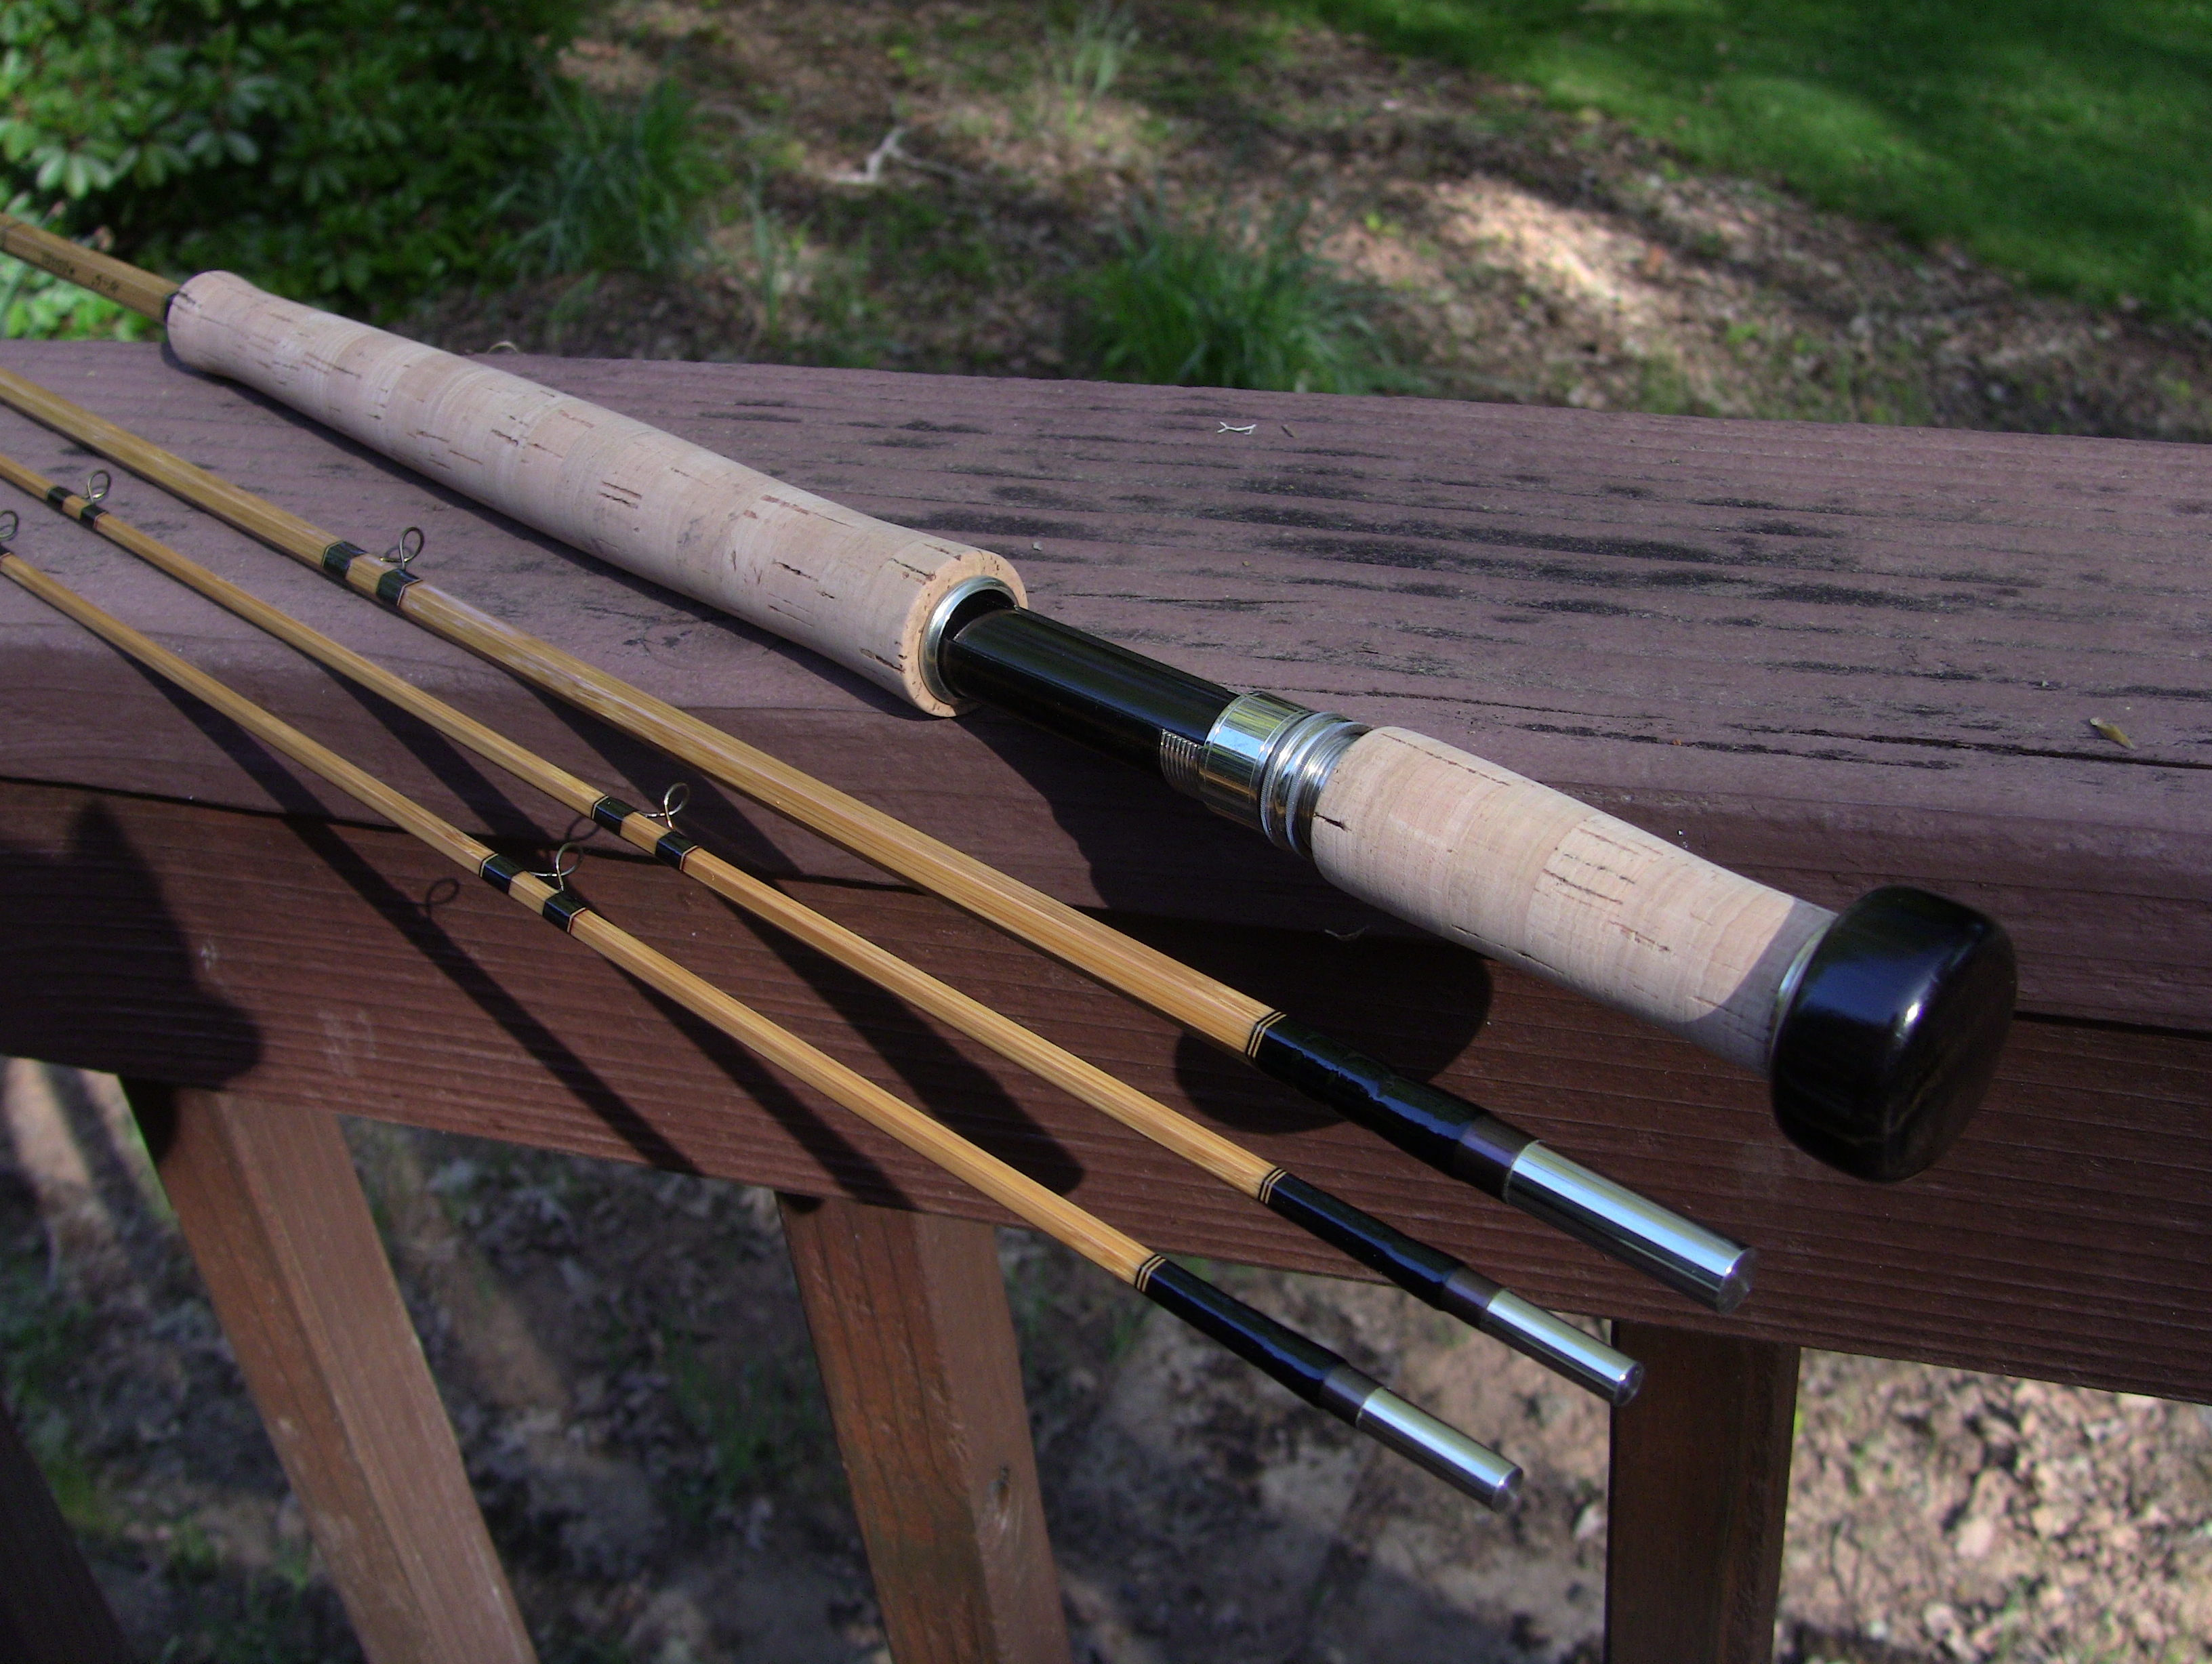
I just completed a new Switch Rod for Mary Ann.  This one is my 10′ 6″  3/2  5 wt Progressive Action Rod designed for swinging streamers and soft hackles for trout.  It’s casts great with a light Scandi Head or 5 wt Switch Line, perfect for medium-sized rivers and larger trout.  I’ll have this rod at the Fly Fishing Expo in Boise next week for attendees to cast, fondle, and oggle!

Bamboo-Switch-Rod-1024x770 (640x481)

Switch-Rod-1024x770 (640x481)

New Switch Rod

I’ve just added a new light Switch Rod to my set of Bamboo Fly Rods that I build and offer for sale.  This one is a 10′  6″ – 3 piece/2 tip – 5 wt rod.  I had a great time designing the progressive taper and the cork grip section…got some great help from Chet and Bill at Bellingers with some design ideas and some custom machined reel seat hardware.  This rod casts a light line amazingly well.

This rod went to Paul from Idaho. Here is a short little video of Paul trying out his new Switch Rod. By the way…very nice casting stroke, Paul!

Rod Wrapping Stand

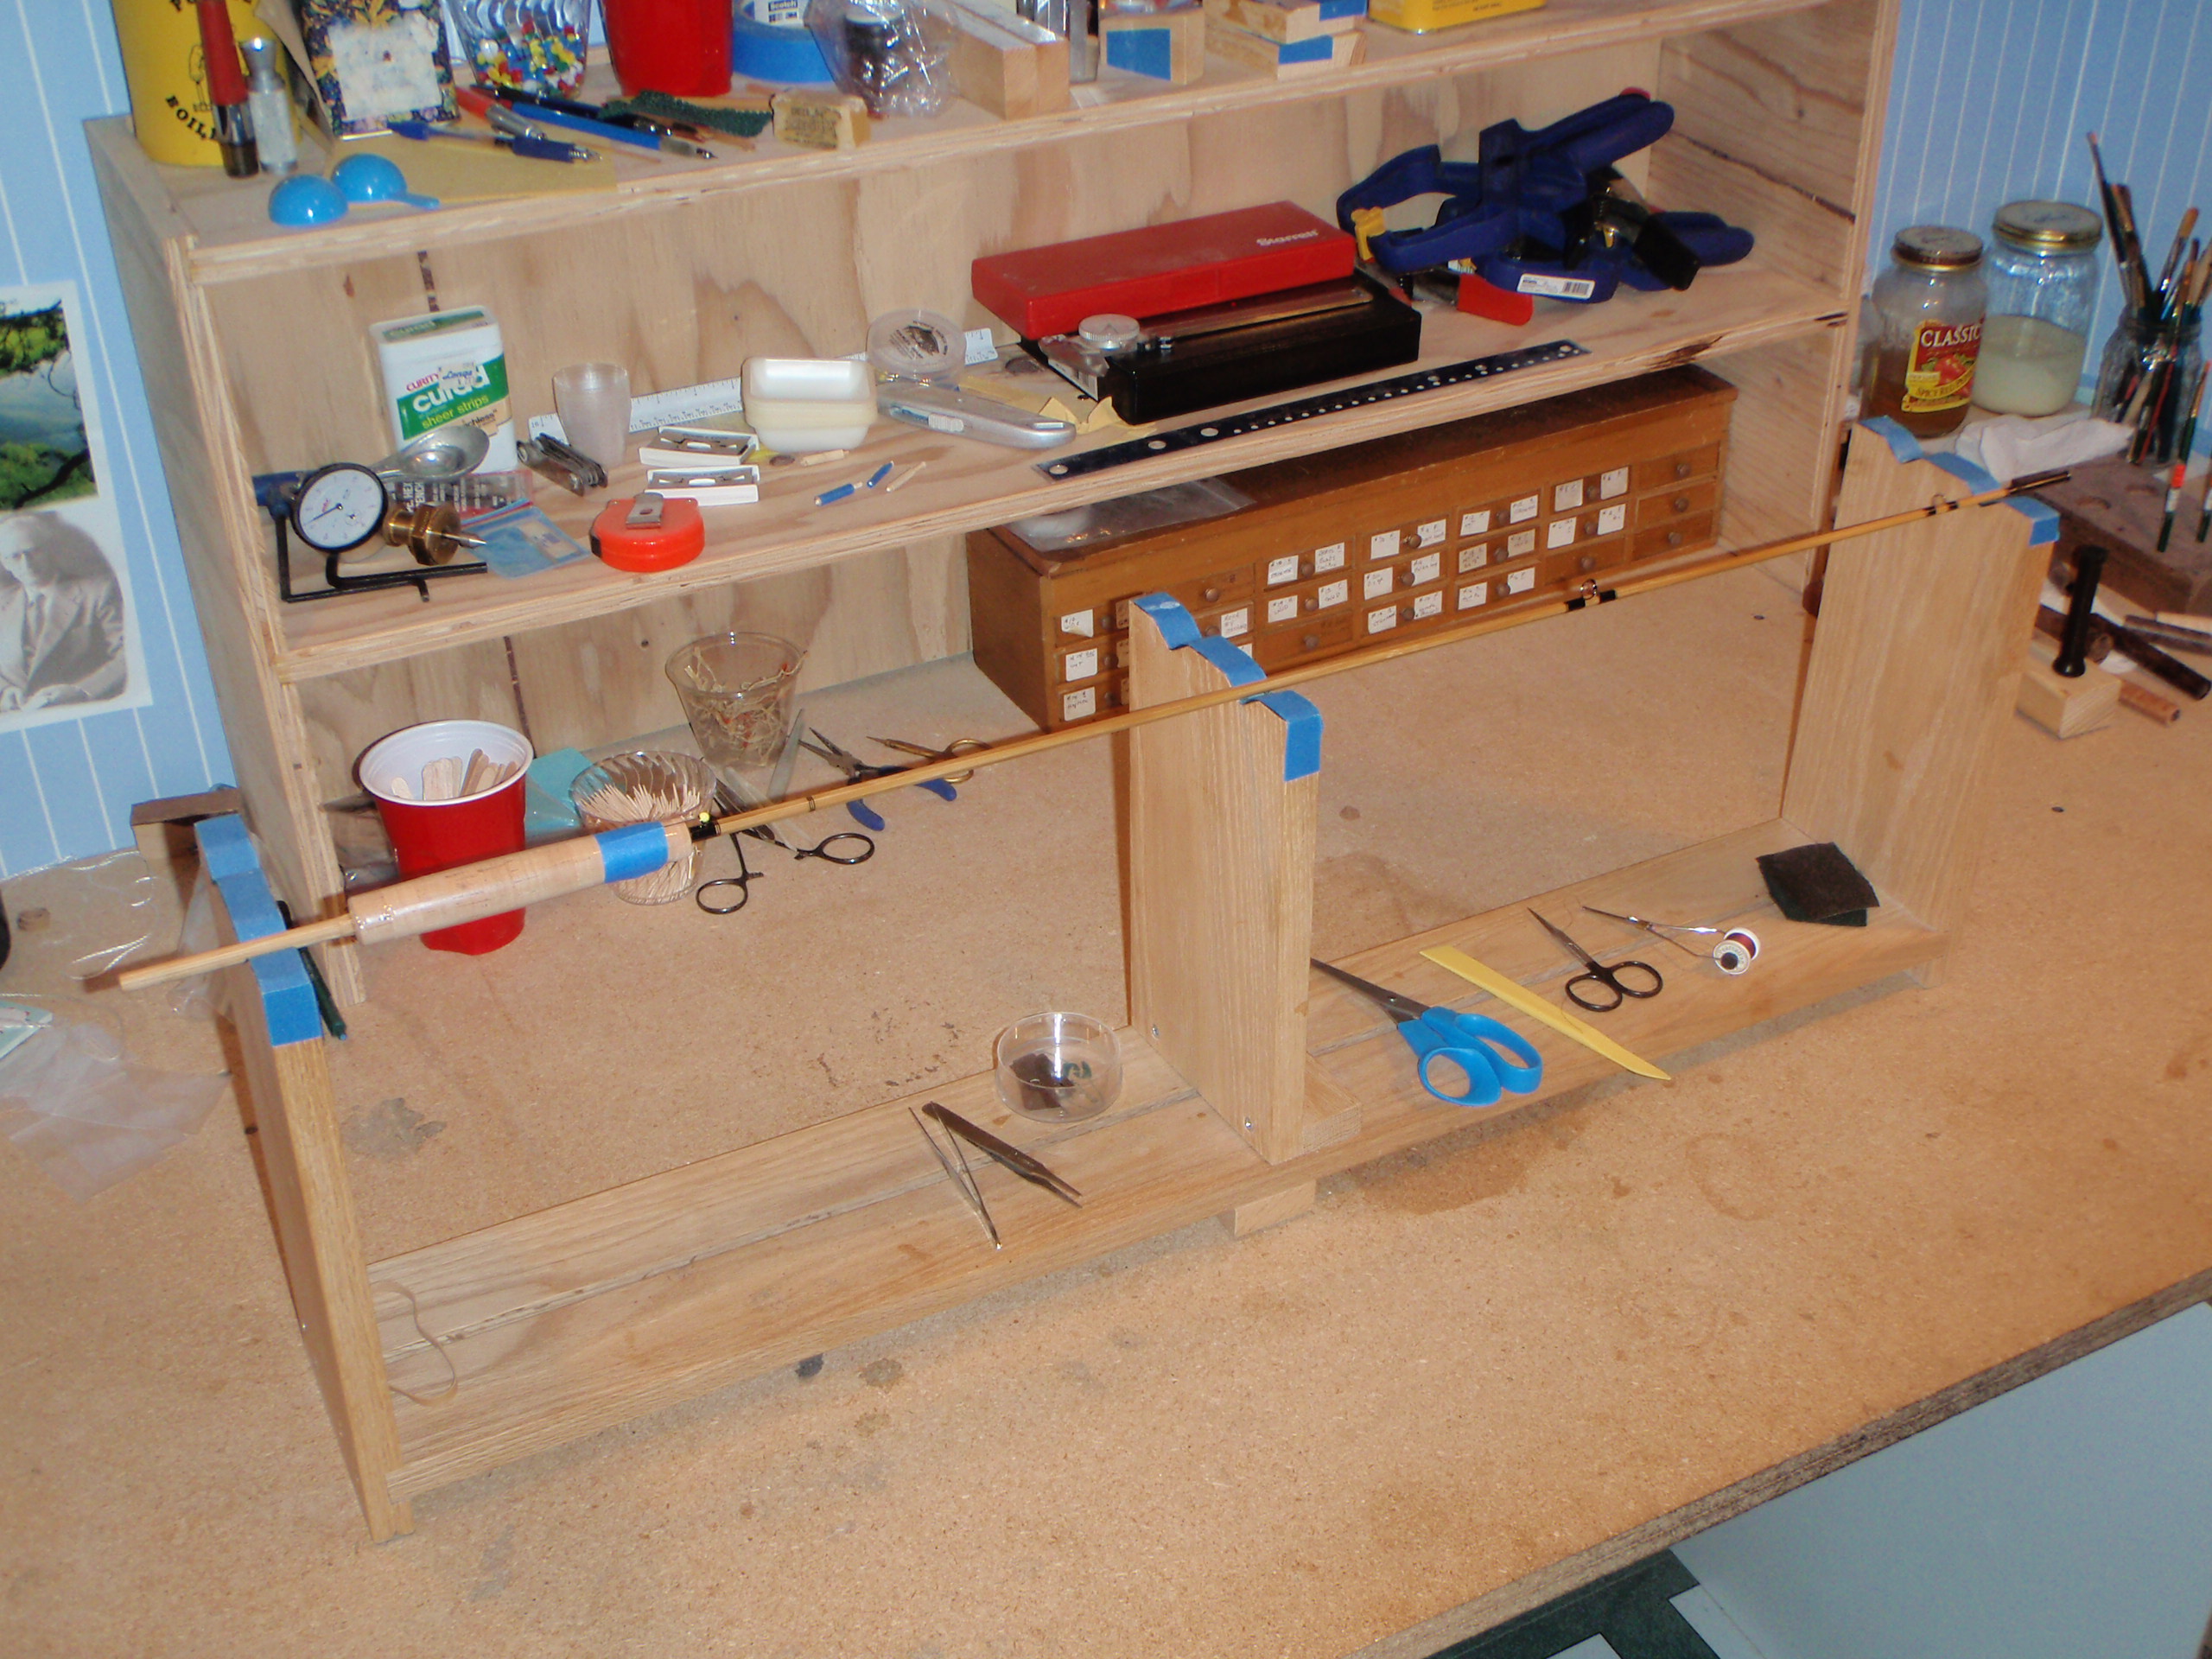
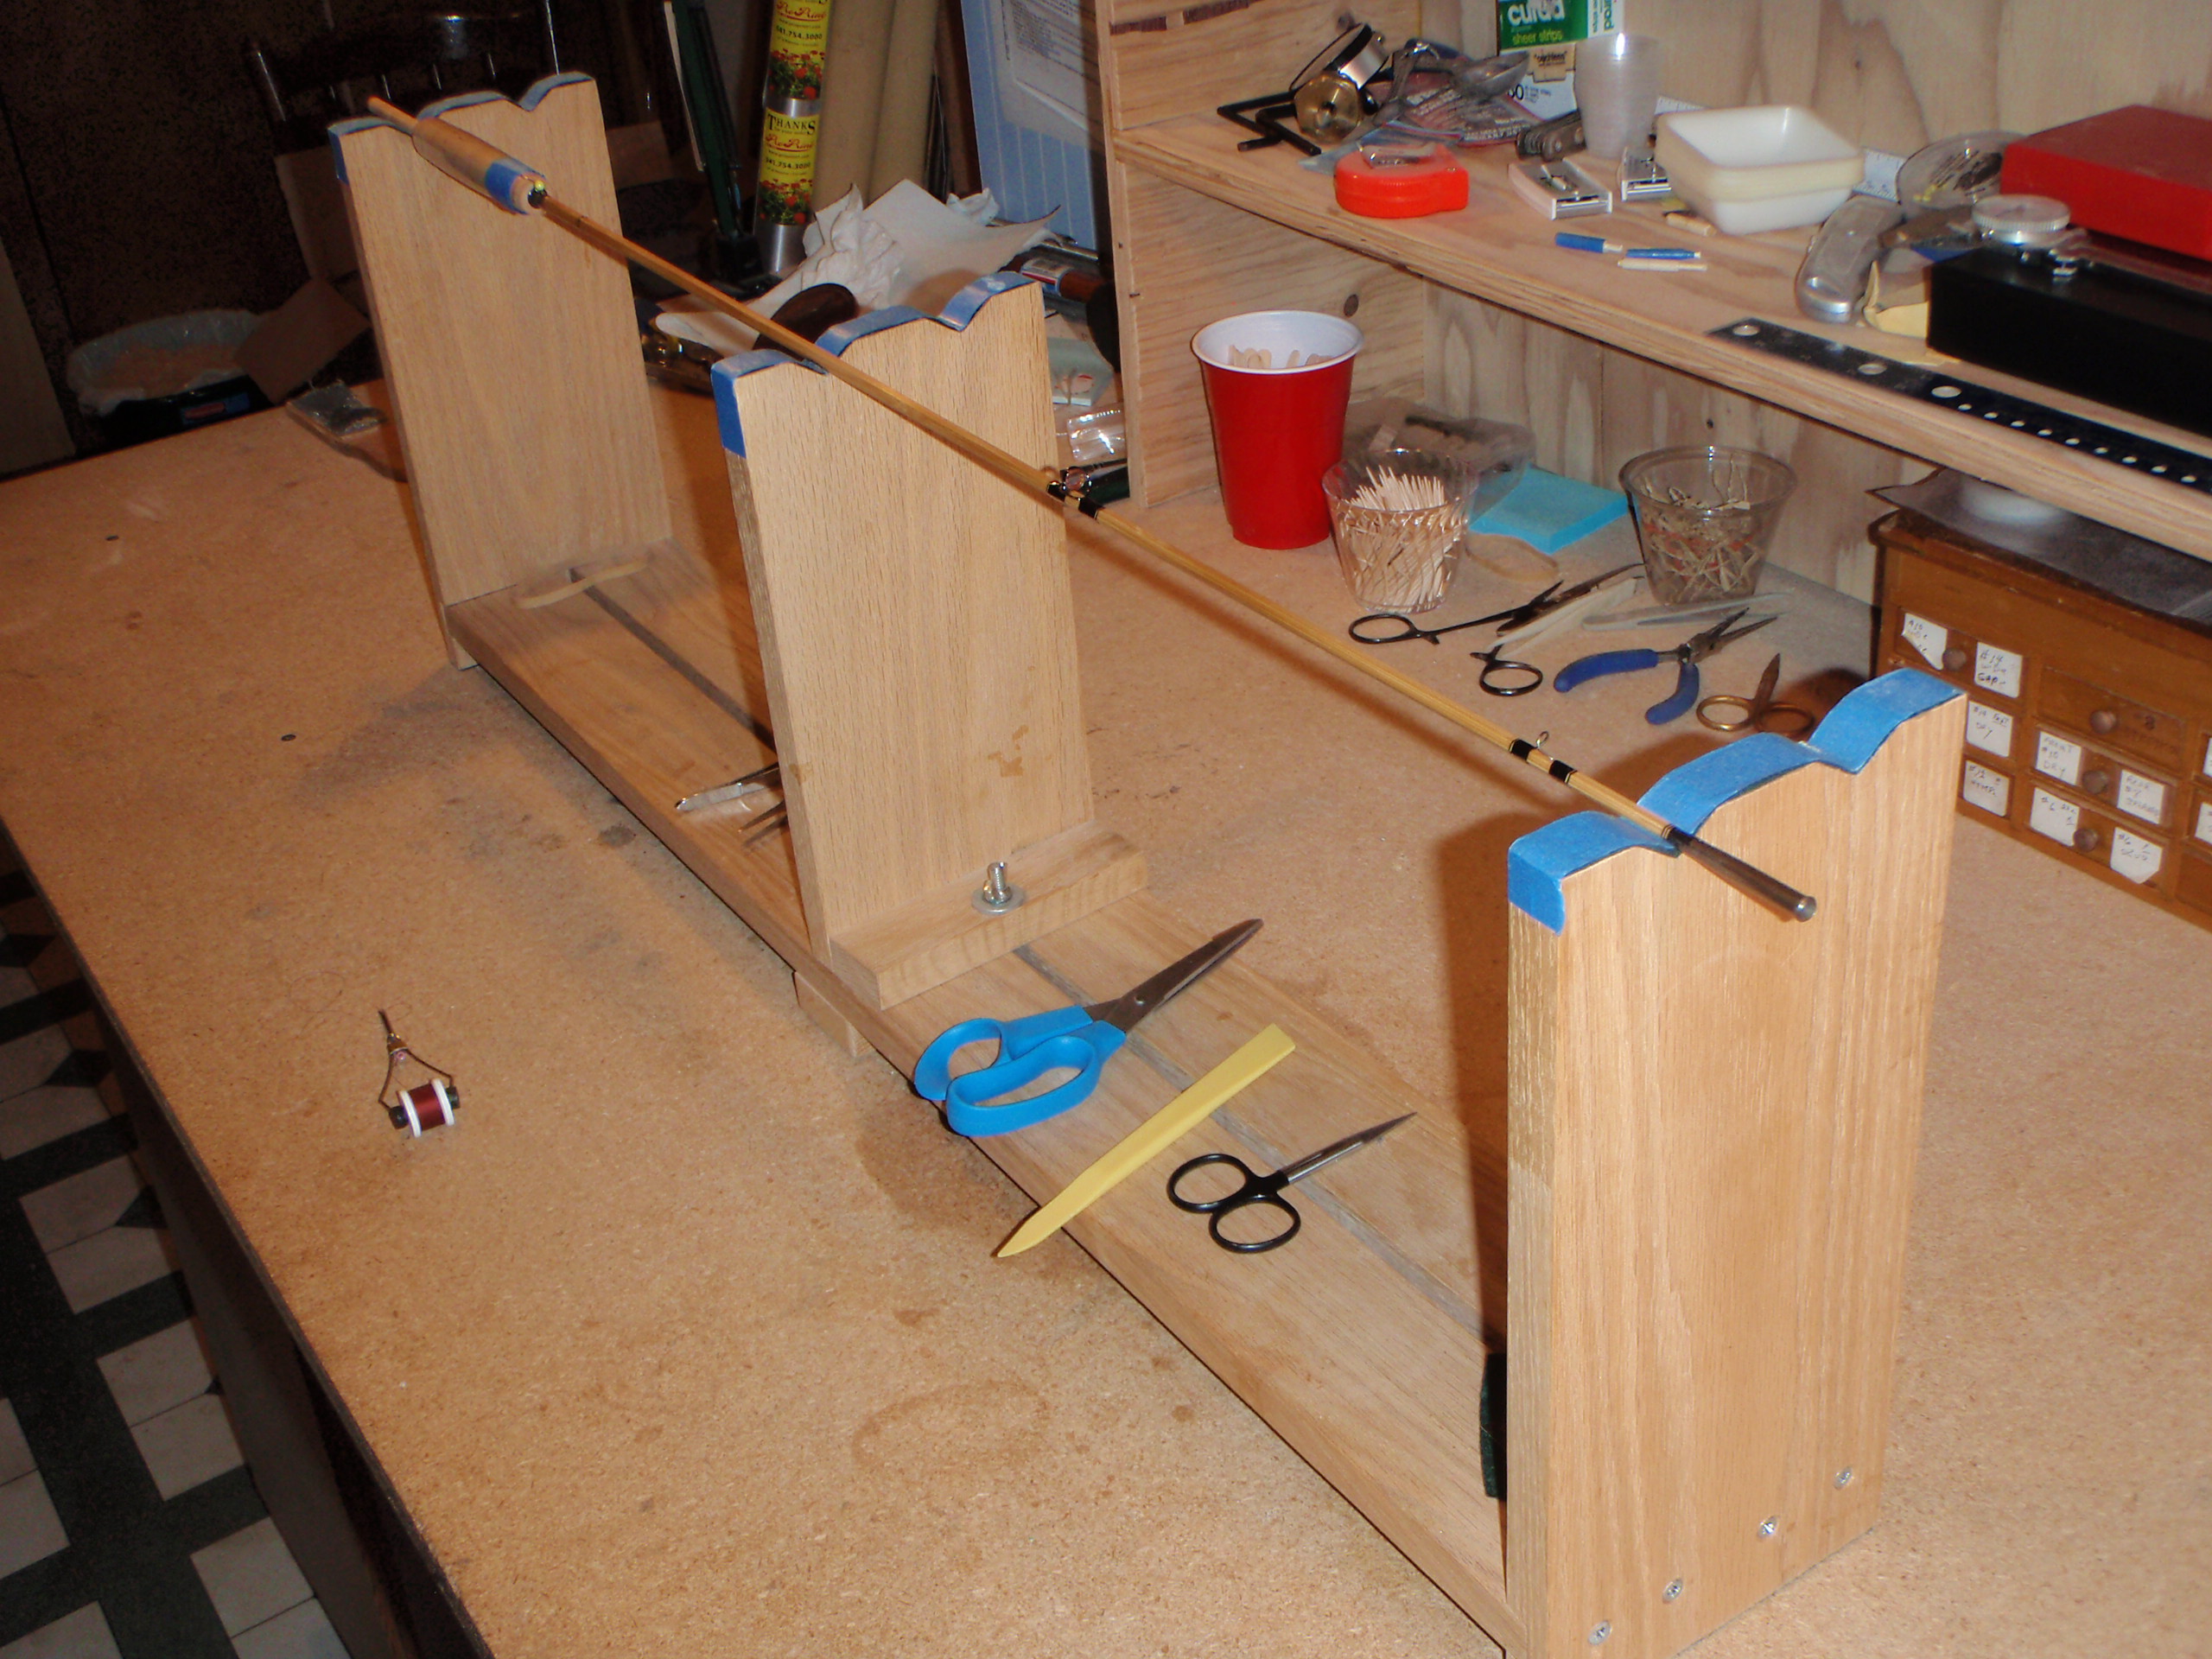
After seeing my wrapping video, William (from Tennesee) ask me for a few more details on my rod wrapping stand. I built an oak support stand 36″ long and 12″ high that support the rod sections when I wrap guides. The center support can be moved laterally by loostening a wing nut and sliding the support to one side or another. This helps to accommodate the cork/grip on a butt section or to give additional support near the tip-tops on tip sections.

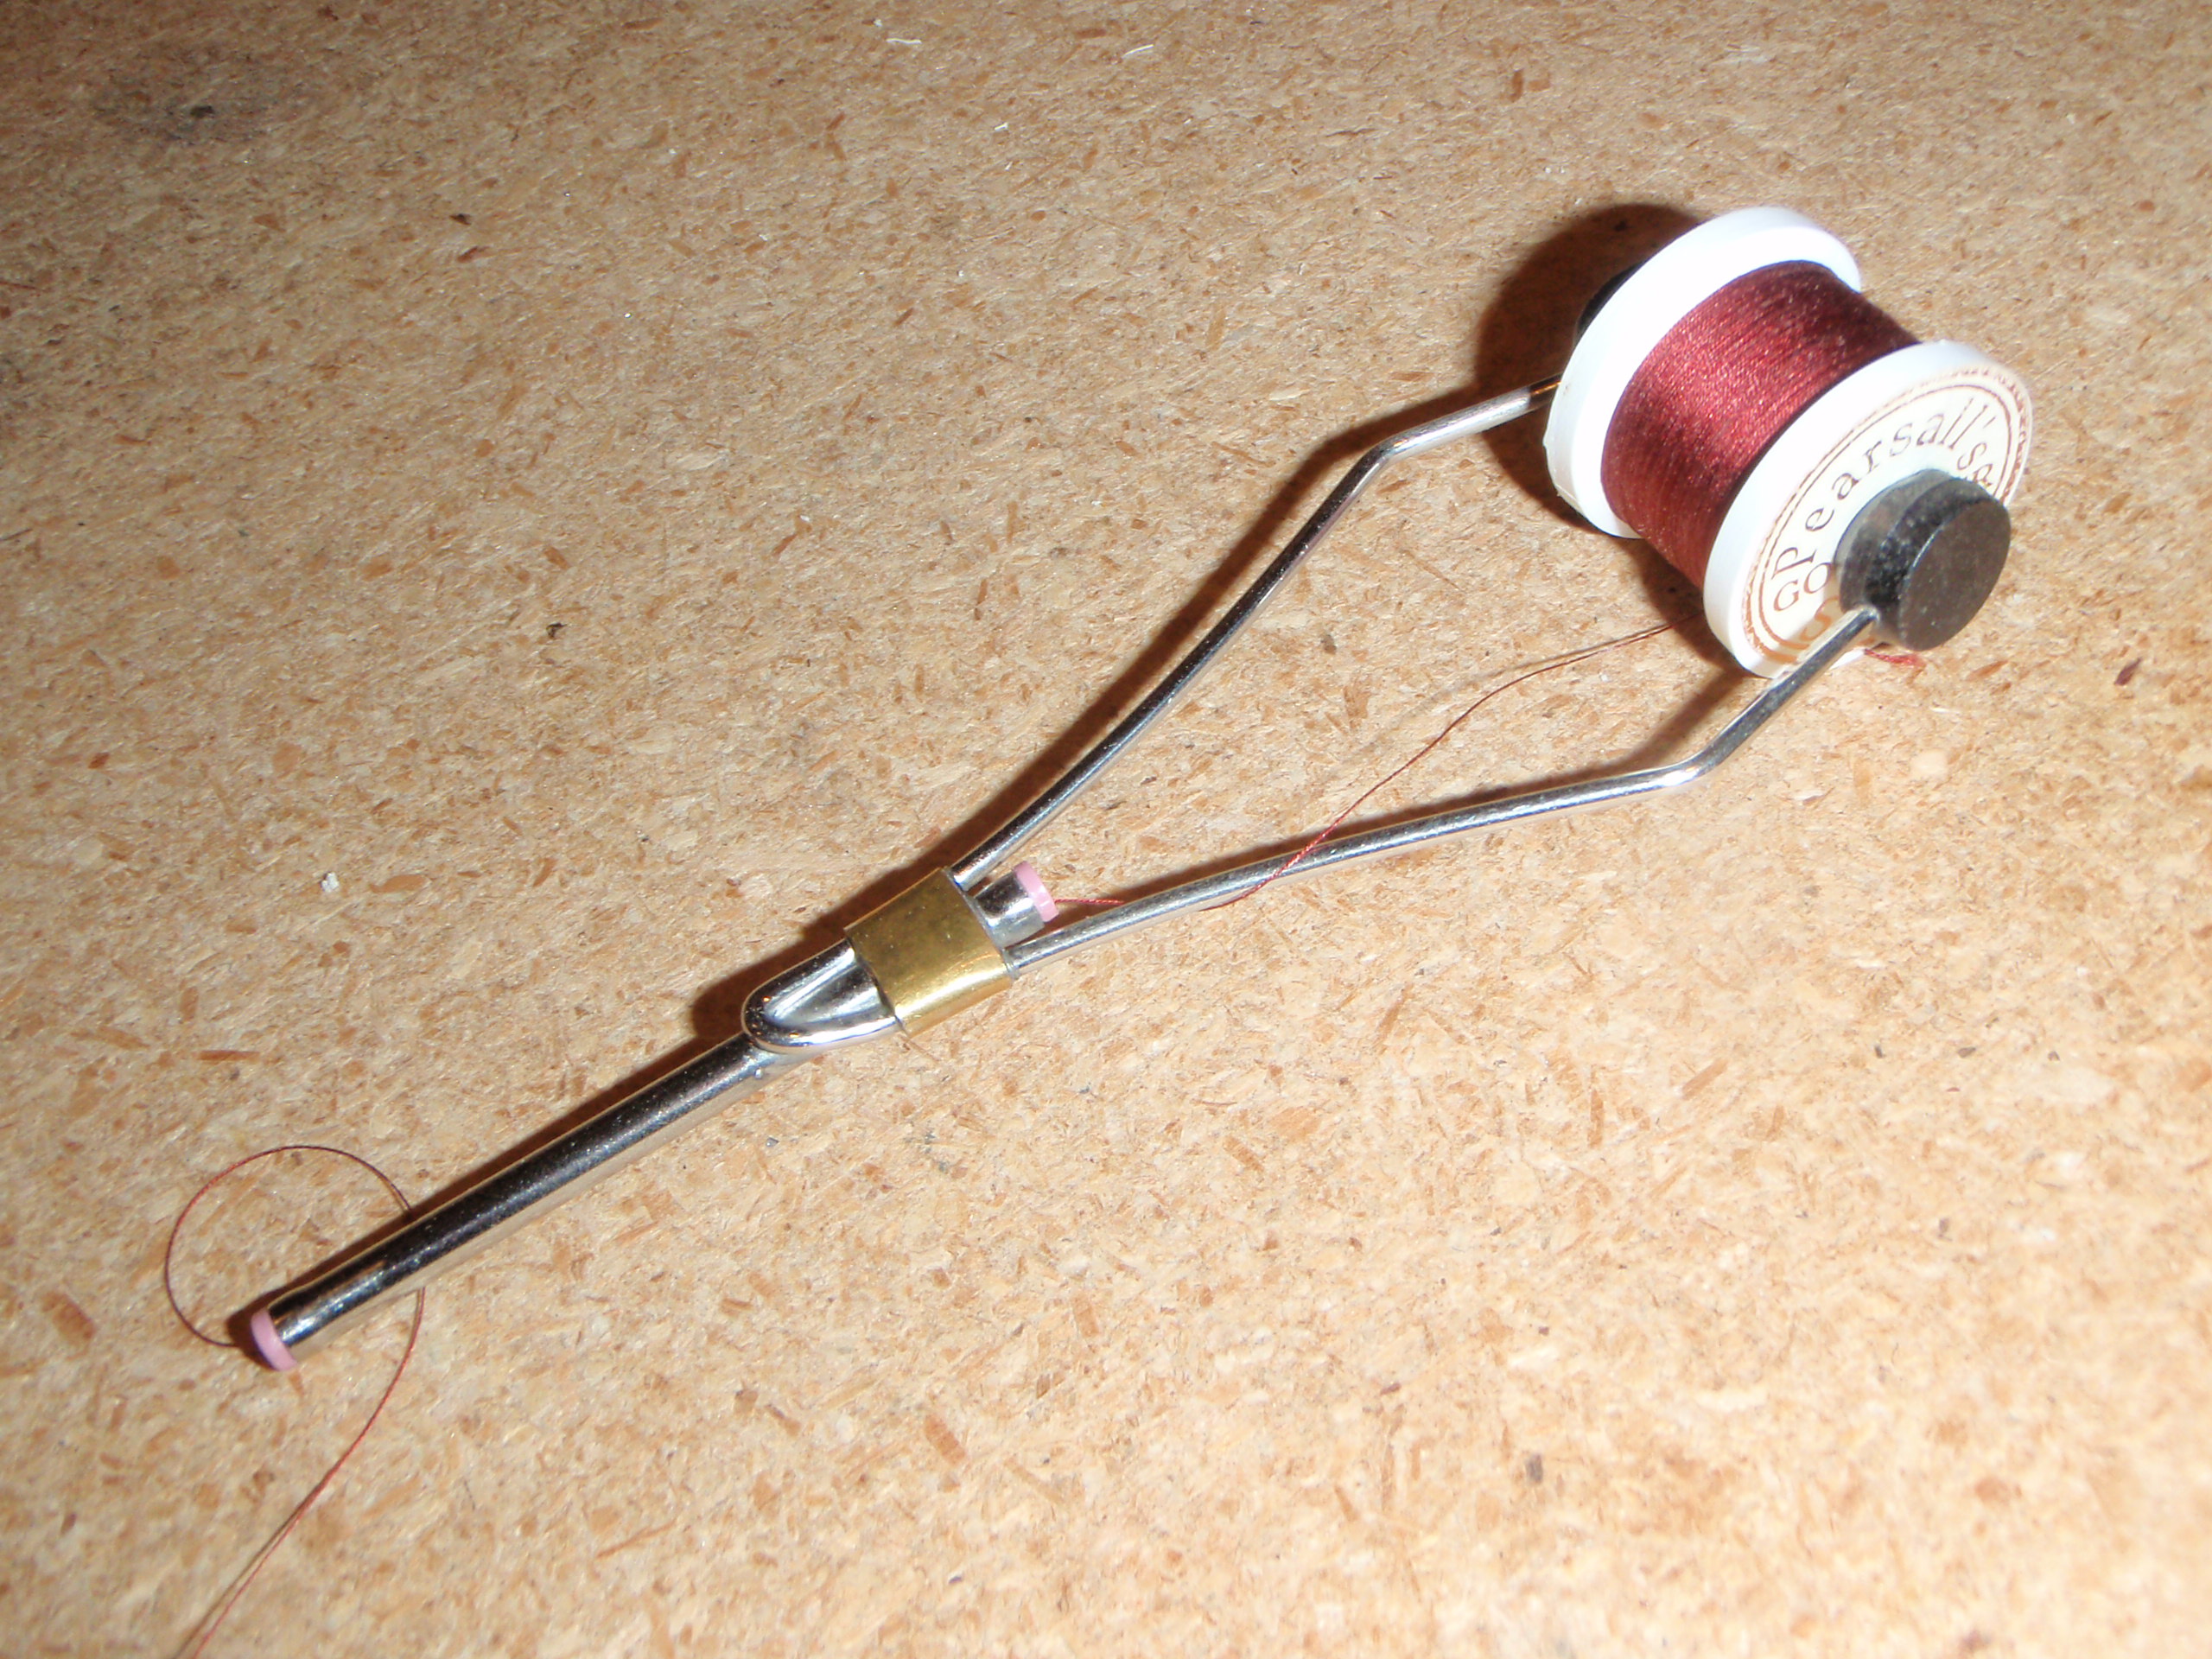
I put groves into the upright supports that can hold two rod pieces and covered them with painter’s tape to prevent any scratching of the bamboo. I hand wrap everything using just a Dr. Slick Bobbin to hold the thread, holding the bobbin in my left hand and turning the rod with my right hand. I wrap all rods with Pearsalls Gossimer silk thread.

When wrapping a guide, my typical wrapping process is to wrap 6 times, then pack the thread with a plastic packing tool (used for modeling clay) that I bought at a crafts store for less than $1, then repeat.  It’s the yellow tool you see in the pictures above.  The video pretty much shows it all.

Making wood reel seats for bamboo fly rods

I make all my own reel seat inserts for my bamboo fly rods. You don’t need an expensive lathe, I just use an old craftsman lathe. But, if you’re going to put a mortise on your reel seat, I’ve found that you need a good router table. The precision of the mortise cut is very important or you’ll ruin the insert. I make my cut on a Rockler Router Table with a convex edging bit, sometimes called a finger nail bit (http://www.rockler.com/product.cfm?page=5713). After final sanding, I put two coats of shellac, followed by 8 coats of a high quality tung oil finish, and then a couple of coats of wax. Here a little video of my building process..I hope you enjoy it: