New Bamboo Rod Building Class

I just started another Bamboo Fly Rod Building Class this past week.  Charlotte, who is local to my area, wants to build her second bamboo fly rod….and this one will be for her husband, Dan….what a lucky guy!  Charlotte built her first rod with me last year so it’s great she is launching into rod #2.  This rod will be a fast action 8′  0″  6 wt rod, which will be great for Dan as he does a lot of lake fishing.  Here area a few photos of Charlotte’s rod building process.

Getting started on splitting

Keeping the split going straight

Knocking out the nodal dams

That’s a lot of strips

Day #2 – Sophie came along for the day

Charlotte and Sophie

Running strips through the beveller.

Busy Planing Strips


Should I use a DT or a WF line on my bamboo fly rod?

I get this question a lot.  And, there are a lot of misperceptions/beliefs about the differences between the two types of lines.  I often hear “A DT line casts better on a bamboo fly rod”, or “I use a DT 4 or a WF 5 on my bamboo fly rods”, or “I just don’t like DT lines so I always use WF lines.  So, let’s look at line construction for a bit.  Below are the line profiles for the popular Corland 444 Peach fly line taken from the Cortland WEB site:

Cortland 444 Peach Line Profiles

You’ll notice that the Level Tip and the Front Taper are the same on both kinds of lines.  It’s only until you get to the end of the body on the WF line that things change and you get into the back taper and running line.  So, if you’re casting either line and do not have more than 34 ft. of line (the length of the Level Tip + the Front Taper + the Body on the WF line) past the rod tip, the two lines will cast the same.  In this instance, both lines have the same profile and weigh the same…so they’ll cast the same.  If you have more than 34 ft. of line past the rod tip, then the WF line will start to have problems because the small diameter running line will not transmit energy through the fly line effectively.  The DT line will continue to cast well.  That said, with any longer casts, the WF line will shoot easier because the smaller diameter will move through the guides on your rod better.

I’ve looked at a lot of similar profiles of lines from a number of different line manufactures.  Those manufactures that make specific lines in both WF and DT, the front profiles are the same.  However, we’re now seeing some manufactures coming out with special DT lines (not available in WF) with front head profiles specifically designed for delicate presentations, and these lines might be desirable for bamboo fly rods.  And, DT lines have the added advantage of being able to turn around on your reel and use both ends, allowing you to get longer life out of your fly line.

Most of us don’t have good enough casting strokes to carry a huge amount of line past the rod tip at still get great presentations…I certainly don’t.  And, I find that most of my fishing is done from 10 ft. to 30 ft. in front of me.  If you consider 34 ft. of fly line + a 9 ft. leader + the length of your fly rod, that covers most fishing conditions where we actually fish.  Bottom line…use the line that you like on your bamboo fly rods.  There aren’t huge differences between DT and WF lines for most fishing conditions.

If you want to know more, noted casting expert, Bruce Richards, has written some great articles on the subject of fly lines.  Check out this article at:   http://www.sexyloops.com/articles/wfvsdt.shtml.

Pearsall’s Silk Thread for Wrapping Guides

Like a number of bamboo fly rod builders, I use Pearsall’s silk thread from England for wrapping guides on all my rods.  Pearsall’s is among the best quality silk thread in the world for bamboo fly rods.  Unfortunately, Pearsall’s has done away with their finest silk thread and they no longer supply it.  So, I’ve been picking up as much as I can from numerous WEB sites over the past month to restock my favorite colors.  And, I’ve been lucky enough to stockpile enough spools to last me for several years.  Here is a quick look at what I have:

My supply of Pearsall’s Thread.

Czech Nymphing with Bamboo on the East Walker River

I got the chance to meet up with my “San Jose Fishing Buddies” in Eastern California for a few days last week to fish Crowley Lake.  They have been talking with me about joining them at Crowley for the past few years, with stories of lots of big fish.  While fishing on Crowley was rather slow for us, on the way down there I stopped and fished the East Walker River for a couple of hours.  I’ve read a lot about the East Walker for several years as being a great trout fishery, but I really didn’t know what to expect.  The weather was cold, about 45 degrees, but the overcast conditions were a good sign for some fish activity.  What I found was what seemed to be relatively high and off-color water, with the banks heavily lined with trees and brush.  Take a look:

East Walker River

East Walker River

The only bugs I saw flying were midges and a few small blue-winged olives.  No rising fish were seen.  But, there was a lot of great pocket water that screamed nymphing, and although the water was on the high side, it was fairly easy to move along the river’s edge to hit the good “fishy looking spots”.  I used my 9′  0″  3 wt Bamboo Czech Nymphing rod, and started with several variations of small mayfly and midge imitations.  I picked up a few smaller brown trout on a #18 Psycho Mayfly pattern, but was a little discouraged that I wasn’t picking up more fish since the water looked so good.

A 10″ brown that took a #18 Psycho Mayfly Pattern.

After going through my standard Go-To flies that usually work for me, I finally put on a #16 Prince Nymph just to see if any fish were interested.  That was the ticket, and the fishing, or should I say catching turned on.  In the next hour, I caught 8 fish on the Prince Nymph…6 browns and 2 rainbows…ranging in size from 12″ to 18″.  I sort of pride myself in being able to “match the hatch” with my small nymph selections, but on that day, it was the Prince Nymph.  I’m not sure why the fish liked it or what it was imitating, but what a great day.  Here are a couple of the nicer fish I caught:

A nice 18″ Rainbow

A beautiful 17″ Brown

For any of you who are looking for an interesting fishery with some large rainbows and browns in eastern California, I would highly recommend the East Walker River.  It was definitely not water for the beginning fisherman as it required strong wading skills, and it was very important to be able to put the fly in precise spots with little to no backcast room.  But, with the right fly in the right spot, the fishing was great.


Some Bamboo Facts….

I just received a new shipment of bamboo from my supplier in Seattle and thought a good post might be to talk a little about the bamboo we purchase for our bamboo fly rods.

The bamboo we use is a particular species that comes from a small region in China…it’s not your garden variety of bamboo that we use.  There is a supplier  in Seattle (the Bamboo Broker) who travels to China and hand selects the bamboo we use in our fly rods.  The choice bamboo we use has some particular characteristics that I’ll get into later.

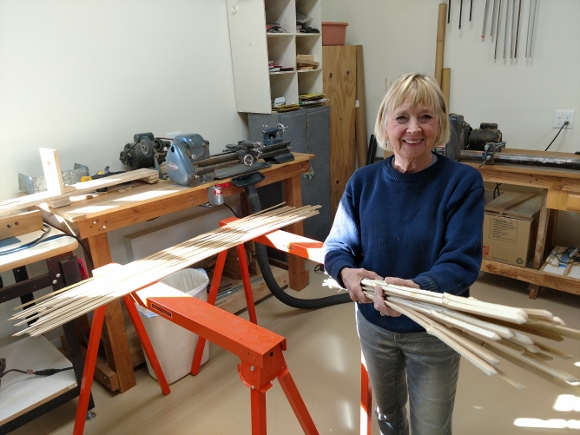
A piece of bamboo is referred to as “a culm”.  When we order bamboo, it comes in 12 ft. lengths, and each piece is about 2 1/2 inches in diameter.  It comes in bundles of 10 culms/bundle, and I usually order 3 or 4 bundles at a time.  Including shipping costs, the cost for a single culm of bamboo ends up being about $40 each.

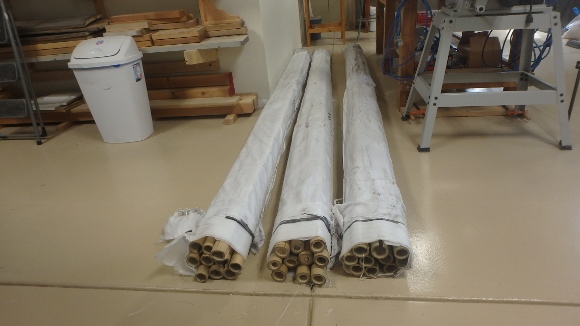
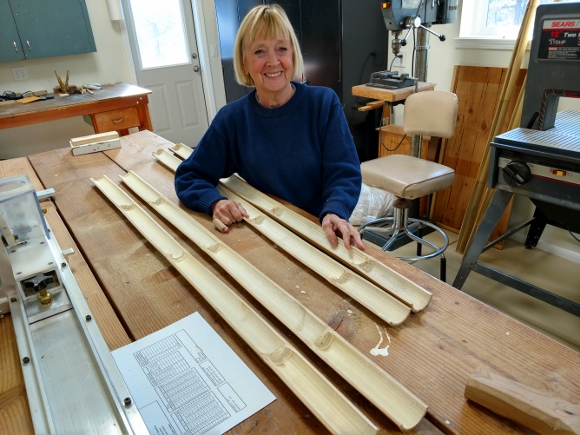
Three bundles of bamboo that I just ordered.

I’ll get quite a few rods from these 3 bundles of bamboo.

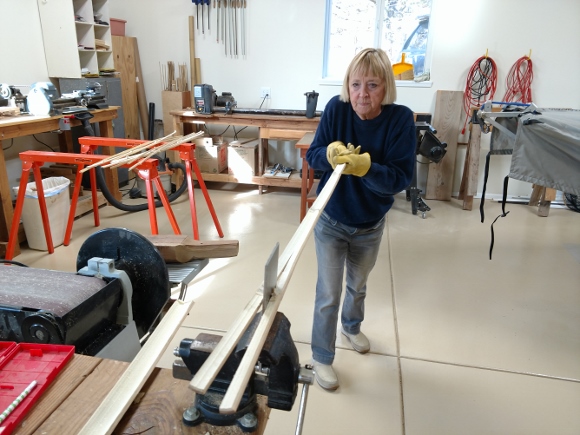
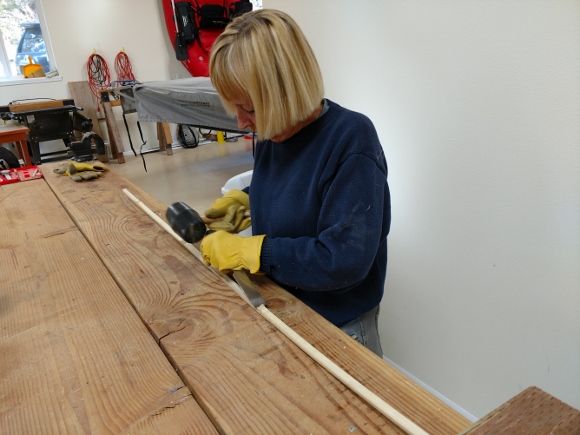
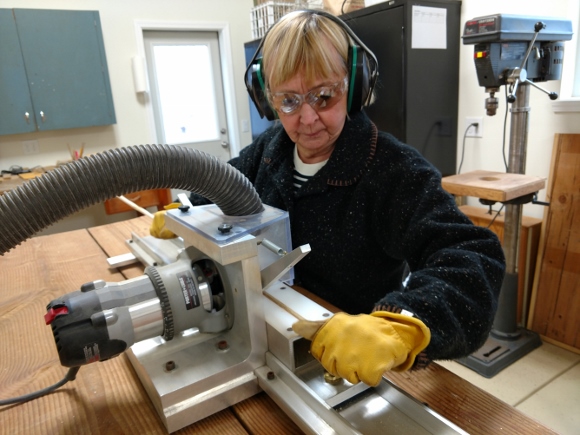
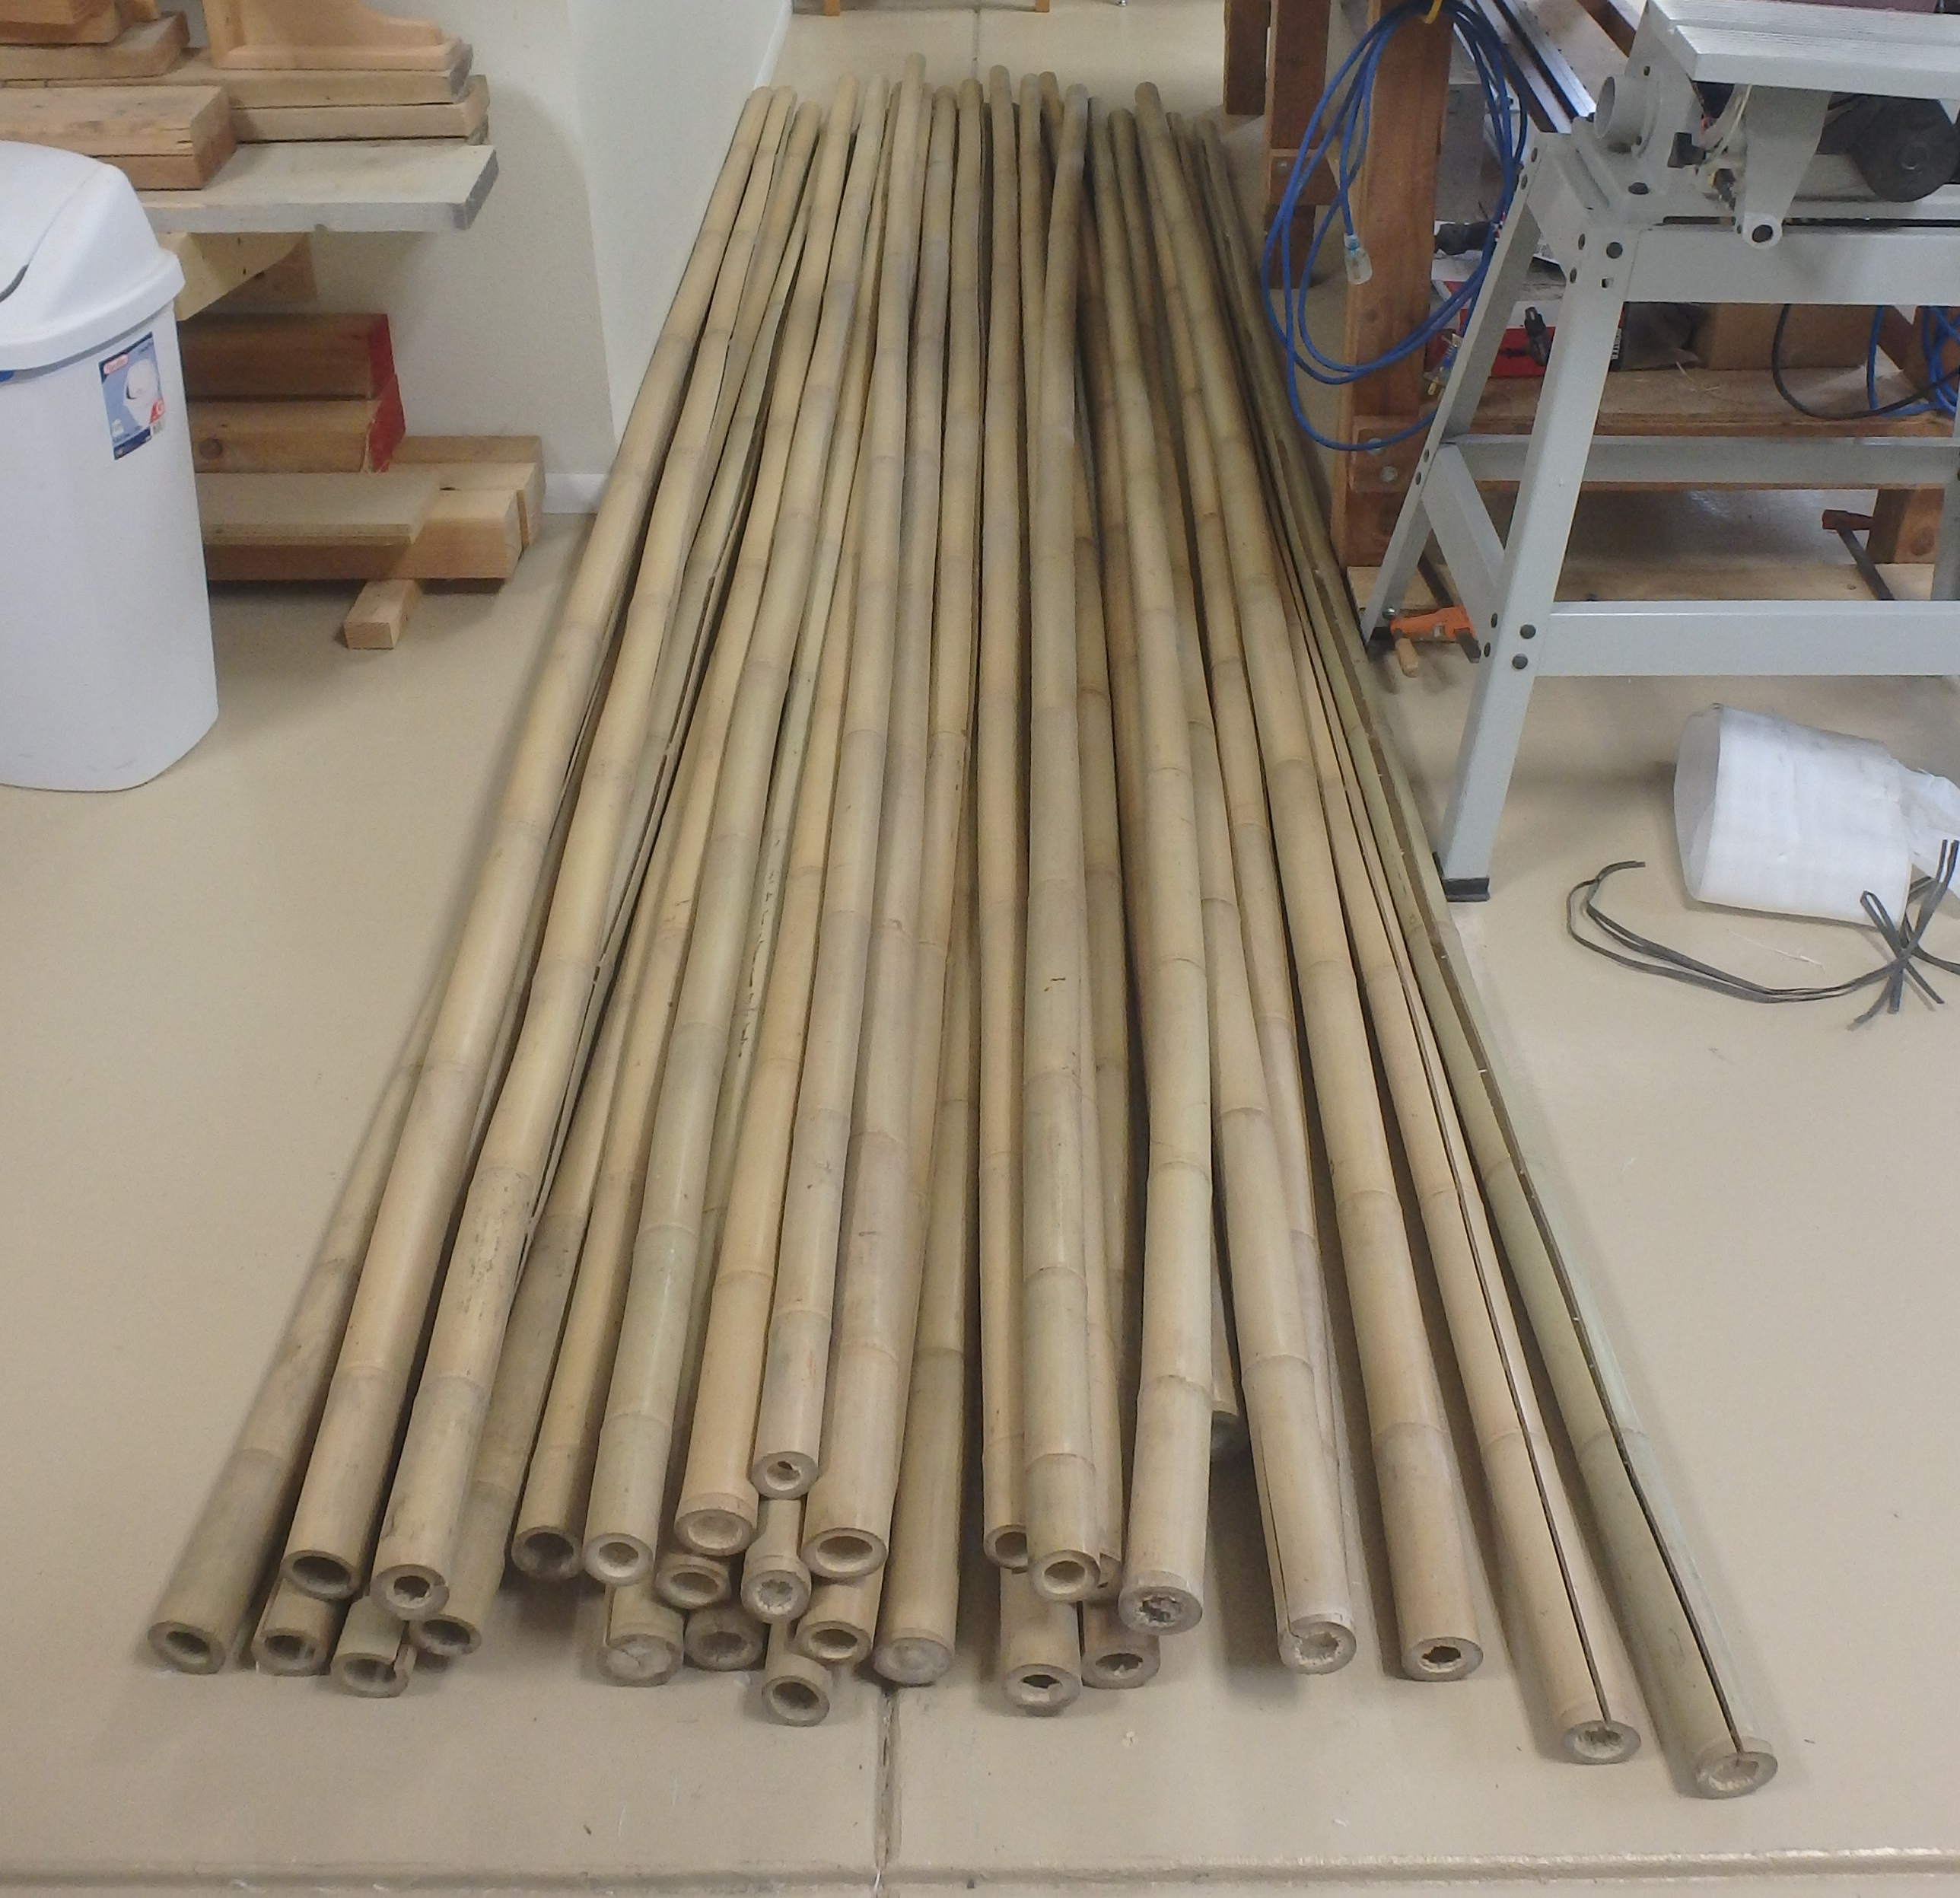
After we unpack the bamboo, the first thing we need to do is to put a “stress relief crack down the entire length of the bamboo culm.  This is to relieve internal stresses that exist in the bamboo that could lead to excessive cracking later on.  Sometimes a crack already exists when we receive the bamboo, and you see that in the two culms in the right of this photo.  Because the bamboo fibers run the entire length of the culm, it’s pretty easy to make the stress relief crack.  I accomplish this with large screw driver and hammer…banging the screw driver hard with the hammer will open the crack and then twisting the screw driver walks the crack down the length of the culm.

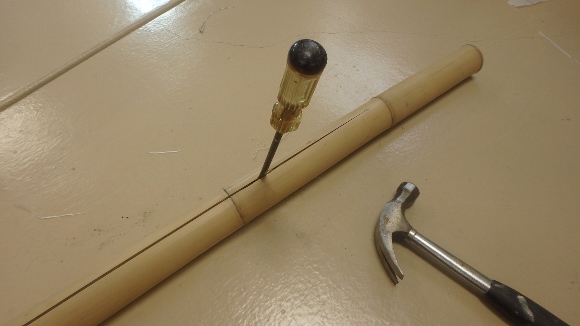
Putting a stress relief crack in a bamboo culm.

For quality bamboo, we’re looking for the following characteristics:

  1. The bamboo should be relatively straight.
  2. Fairly uniform color.
  3. Minimal surface discoloration/anomalies.
  4. Good spacing between the growth rings (nodes).
  5. Thick walls.

Also, one of the most important aspects in the bamboo is that each piece have a high concentration of “power fibers” at the outer surface of the bamboo.  The power fibers are seen as the darker region towards the outer surface of the bamboo.  It’s these power fibers that give the bamboo strength, and having a high concentration of power fibers is a good thing in bamboo fly rods.  The white region visible at the inner surface of the bamboo is called the “pith”, and it has a spongy characteristic that isn’t desirable in bamboo fly rods.

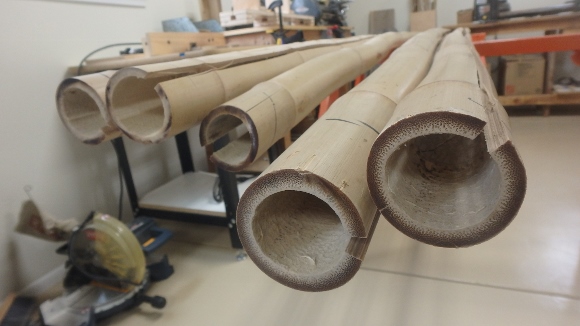
Bamboo cross section showing good wall thickness and high concentration of the dark power fibers at the outer surface of the bamboo.

In starting a bamboo fly rod, the 12 ft. long culm is first cut to the length of the individual rod sections (plus a few extra inches).  Next, that culm is split into approximately 20 thin sections…but the details of that are for another post!

I now have a good supply of bamboo culms that should last me for a couple of years.

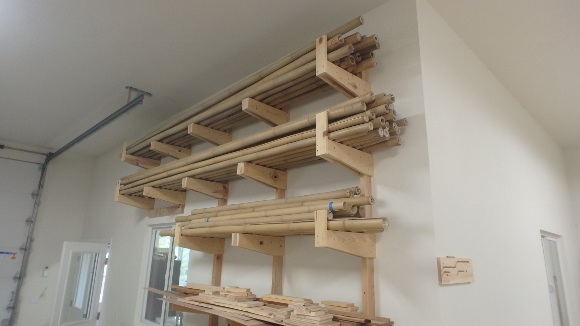
All my new bamboo stacked in my wood rack.