New Bamboo Rod Building Class

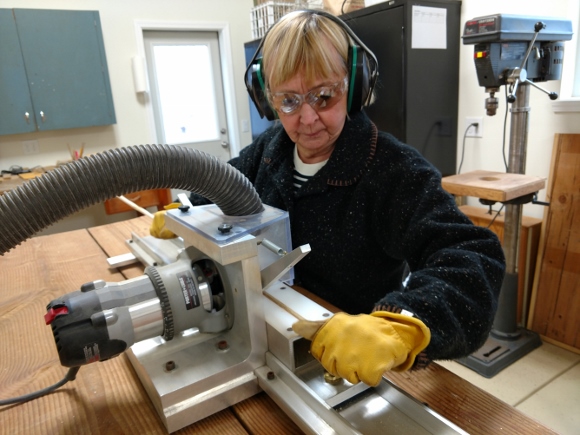
I just started another Bamboo Fly Rod Building Class this past week.  Charlotte, who is local to my area, wants to build her second bamboo fly rod….and this one will be for her husband, Dan….what a lucky guy!  Charlotte built her first rod with me last year so it’s great she is launching into rod #2.  This rod will be a fast action 8′  0″  6 wt rod, which will be great for Dan as he does a lot of lake fishing.  Here area a few photos of Charlotte’s rod building process.

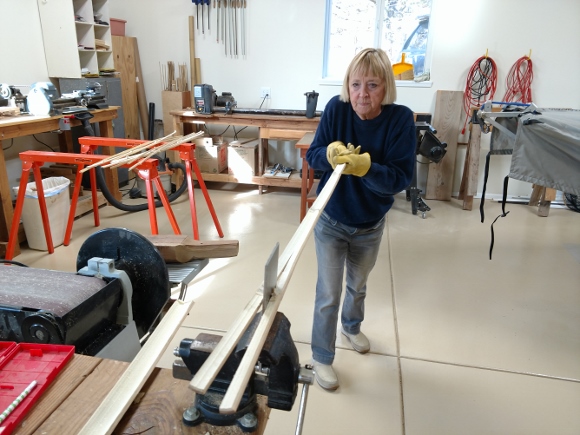
Getting started on splitting

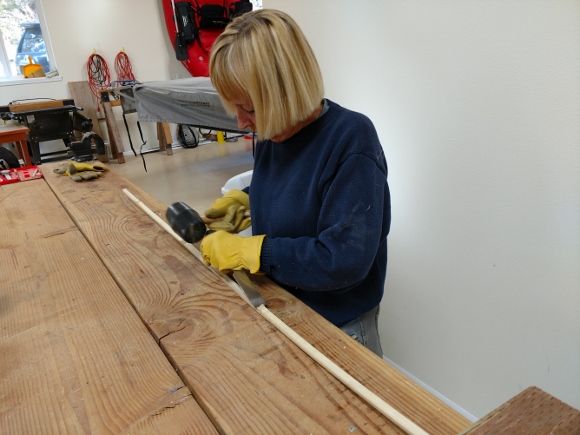
Keeping the split going straight

Knocking out the nodal dams

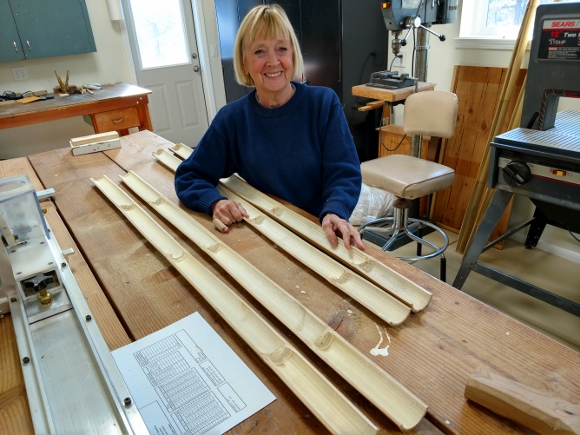
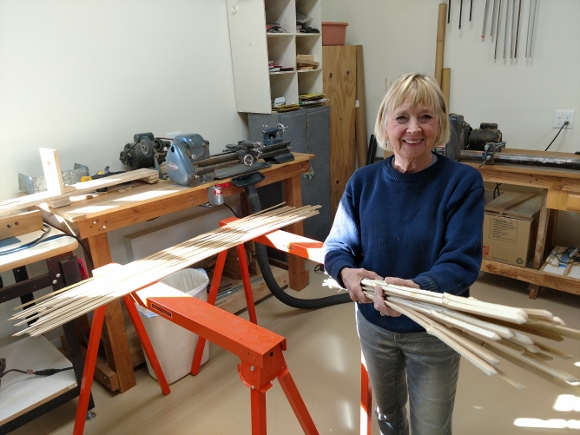
That’s a lot of strips

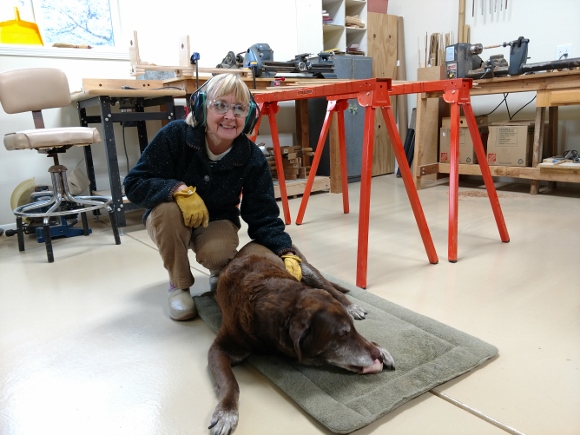
Day #2 – Sophie came along for the day

Charlotte and Sophie

Running strips through the beveller.

Busy Planing Strips


Pearsall’s Silk Thread for Wrapping Guides

Like a number of bamboo fly rod builders, I use Pearsall’s silk thread from England for wrapping guides on all my rods.  Pearsall’s is among the best quality silk thread in the world for bamboo fly rods.  Unfortunately, Pearsall’s has done away with their finest silk thread and they no longer supply it.  So, I’ve been picking up as much as I can from numerous WEB sites over the past month to restock my favorite colors.  And, I’ve been lucky enough to stockpile enough spools to last me for several years.  Here is a quick look at what I have:

My supply of Pearsall’s Thread.

Some Bamboo Facts….

I just received a new shipment of bamboo from my supplier in Seattle and thought a good post might be to talk a little about the bamboo we purchase for our bamboo fly rods.

The bamboo we use is a particular species that comes from a small region in China…it’s not your garden variety of bamboo that we use.  There is a supplier  in Seattle (the Bamboo Broker) who travels to China and hand selects the bamboo we use in our fly rods.  The choice bamboo we use has some particular characteristics that I’ll get into later.

A piece of bamboo is referred to as “a culm”.  When we order bamboo, it comes in 12 ft. lengths, and each piece is about 2 1/2 inches in diameter.  It comes in bundles of 10 culms/bundle, and I usually order 3 or 4 bundles at a time.  Including shipping costs, the cost for a single culm of bamboo ends up being about $40 each.
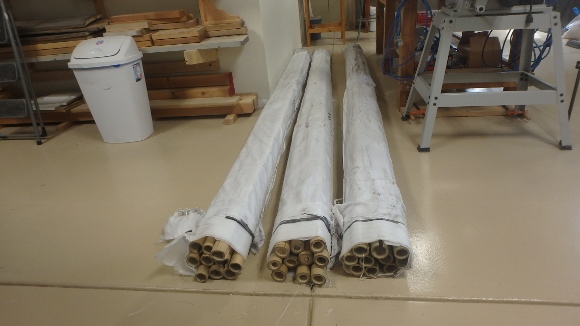
Three bundles of bamboo that I just ordered.
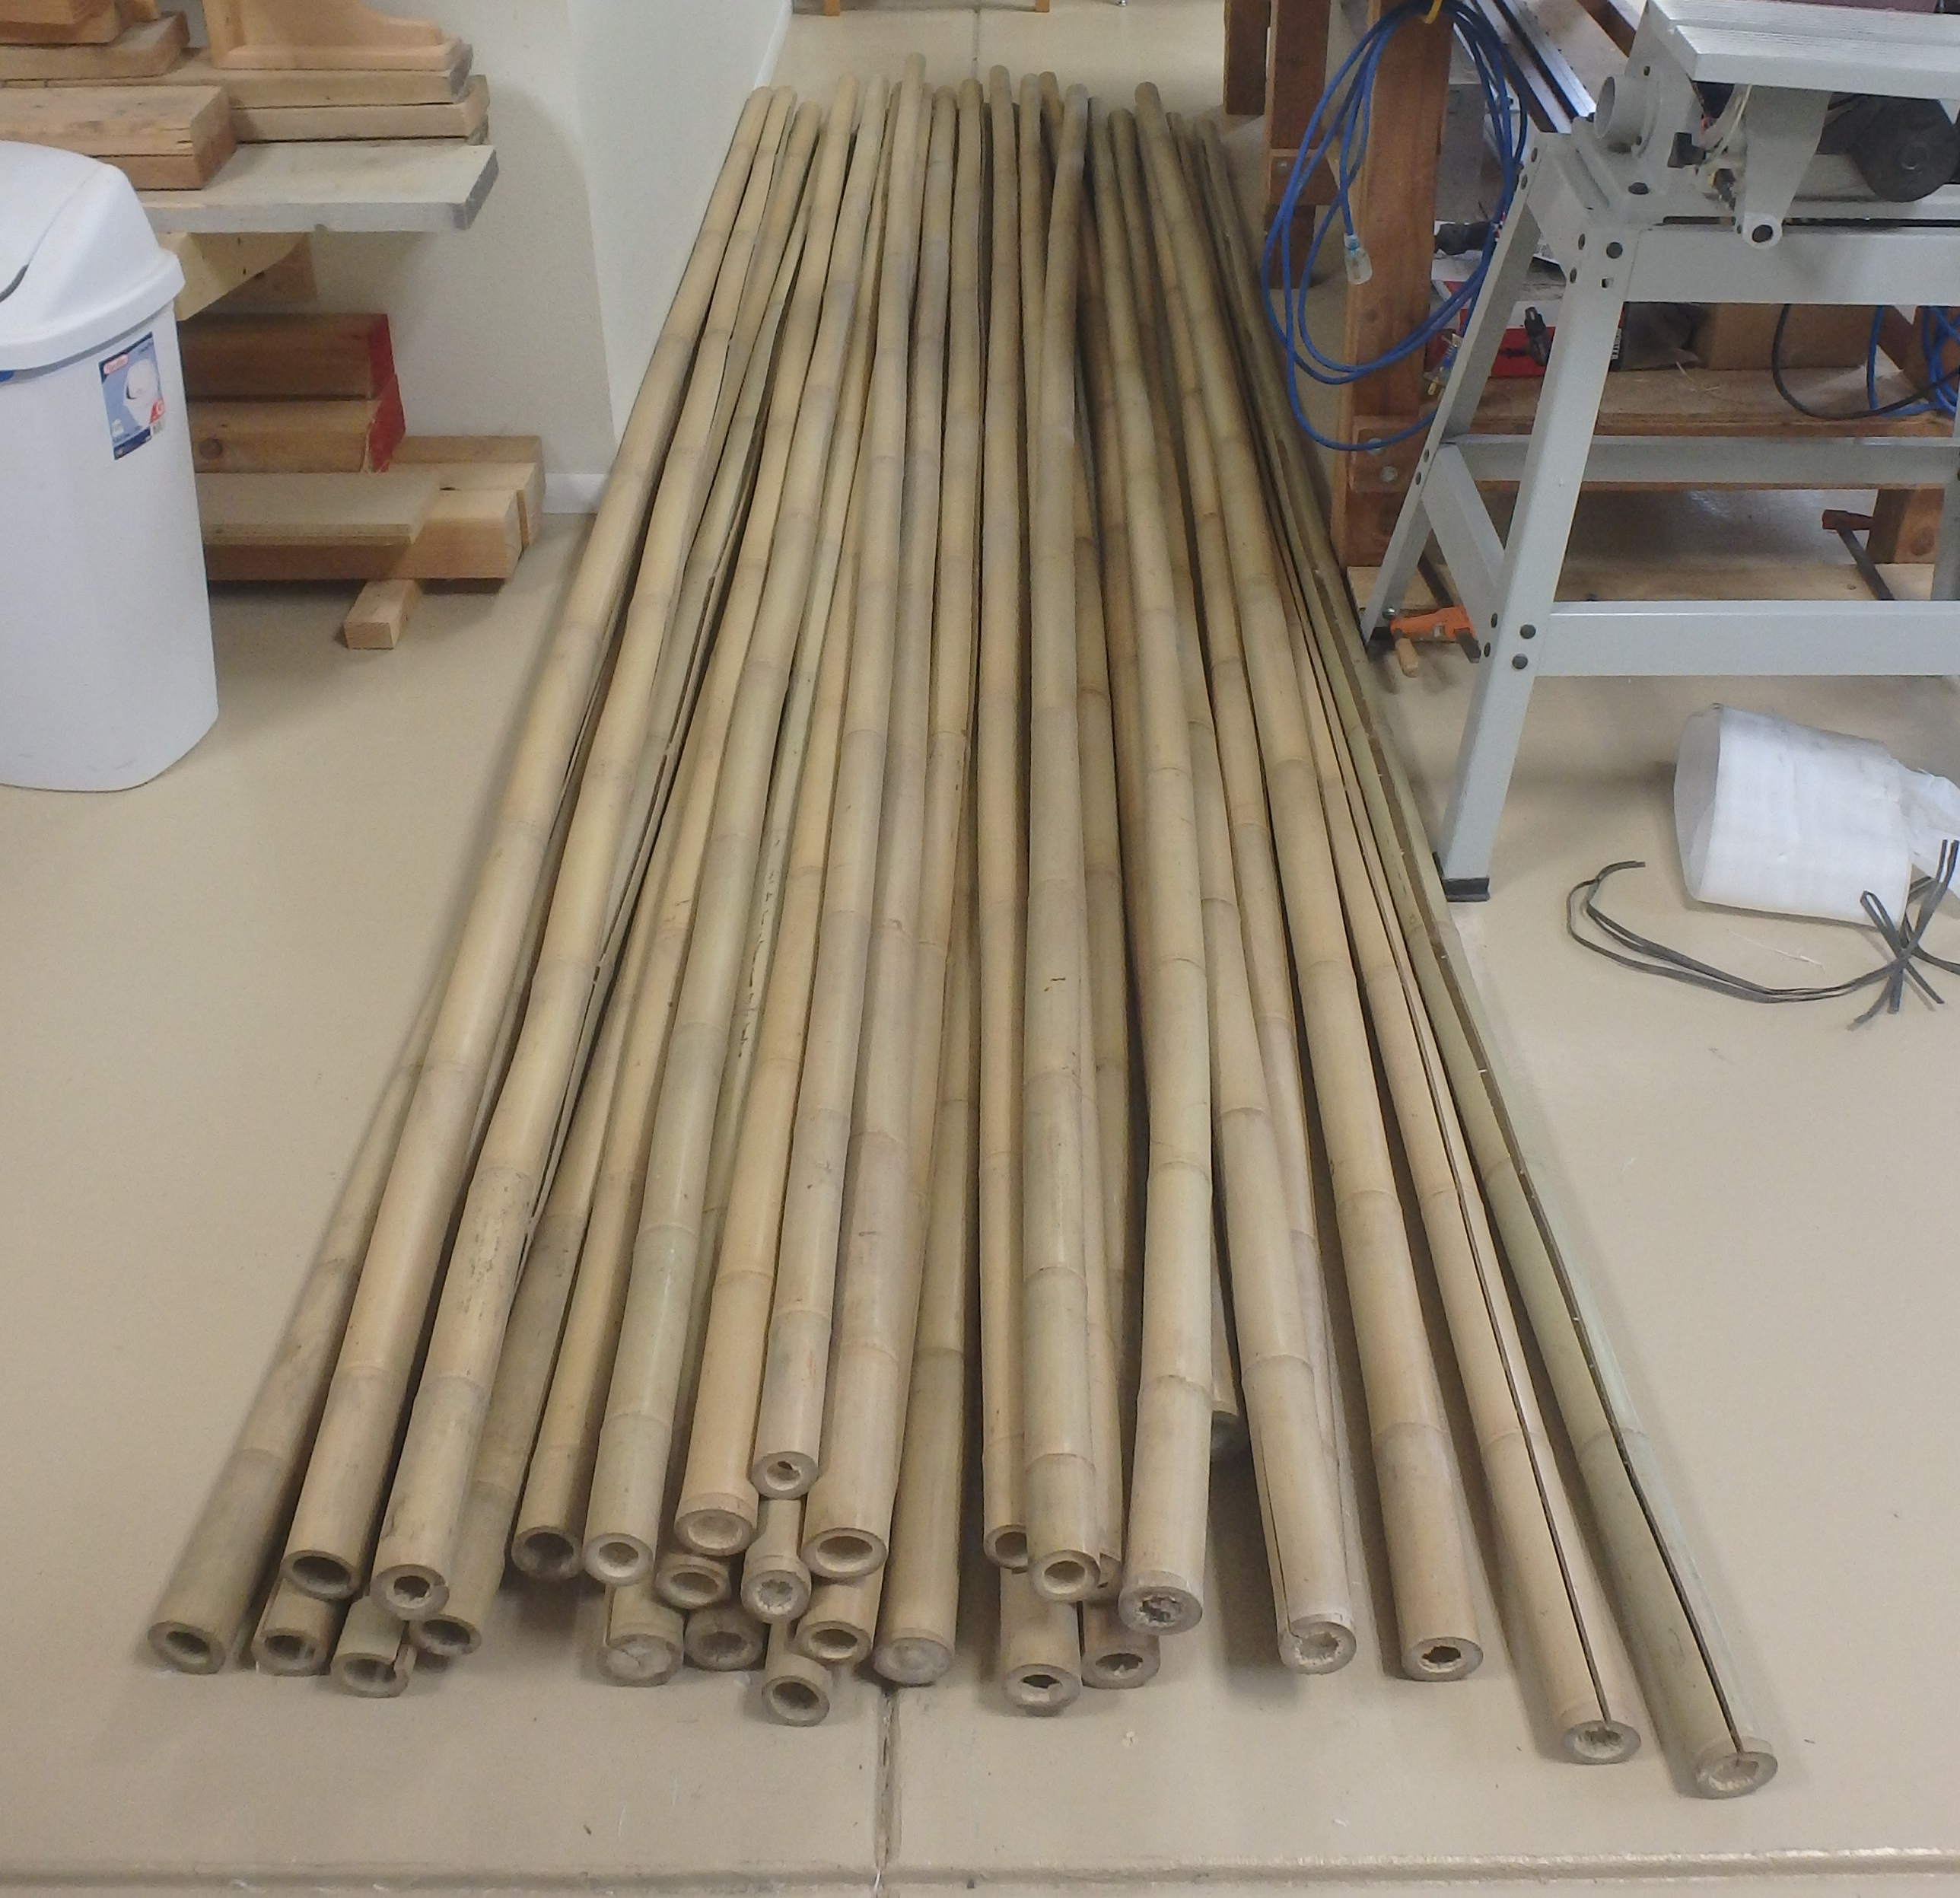
I’ll get quite a few rods from these 3 bundles of bamboo.

After we unpack the bamboo, the first thing we need to do is to put a “stress relief crack down the entire length of the bamboo culm.  This is to relieve internal stresses that exist in the bamboo that could lead to excessive cracking later on.  Sometimes a crack already exists when we receive the bamboo, and you see that in the two culms in the right of this photo.  Because the bamboo fibers run the entire length of the culm, it’s pretty easy to make the stress relief crack.  I accomplish this with large screw driver and hammer…banging the screw driver hard with the hammer will open the crack and then twisting the screw driver walks the crack down the length of the culm.
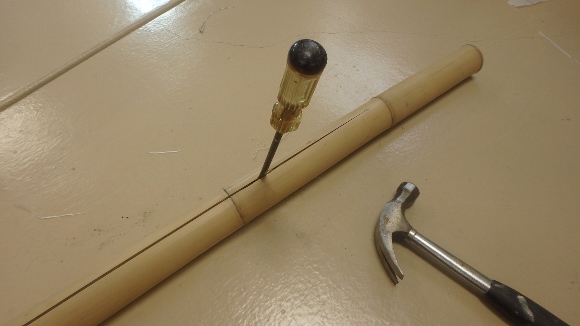
Putting a stress relief crack in a bamboo culm.

For quality bamboo, we’re looking for the following characteristics:

  1. The bamboo should be relatively straight.
  2. Fairly uniform color.
  3. Minimal surface discoloration/anomalies.
  4. Good spacing between the growth rings (nodes).
  5. Thick walls.

Also, one of the most important aspects in the bamboo is that each piece have a high concentration of “power fibers” at the outer surface of the bamboo.  The power fibers are seen as the darker region towards the outer surface of the bamboo.  It’s these power fibers that give the bamboo strength, and having a high concentration of power fibers is a good thing in bamboo fly rods.  The white region visible at the inner surface of the bamboo is called the “pith”, and it has a spongy characteristic that isn’t desirable in bamboo fly rods.
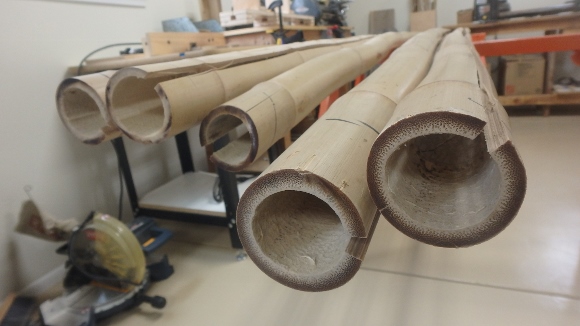
Bamboo cross section showing good wall thickness and high concentration of the dark power fibers at the outer surface of the bamboo.

In starting a bamboo fly rod, the 12 ft. long culm is first cut to the length of the individual rod sections (plus a few extra inches).  Next, that culm is split into approximately 20 thin sections…but the details of that are for another post!

I now have a good supply of bamboo culms that should last me for a couple of years.
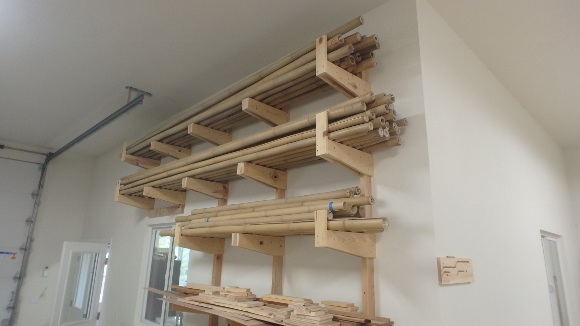
All my new bamboo stacked in my wood rack.


New 9 ft. 0 in. 3 and 4 wt. Czech Nymphing Bamboo Rods

I recently redesigned my tapers for my Czech Nymphing Bamboo Fly Rods and I can’t tell you how great they’ve come out.  First, as a Czech Nymphing rod, I want the rods to be a light line wt rods, have a slow action to them, and have a very soft tip to detect subtle takes.  And, I also want the rods to cast dry flies well in the event you’re out on the stream nymphing and a hatch happens.  These new tapers in 3 wt and 4 wt rods do just that.  I build these rods with Custom Engraved Reel Seat Hardware, Figured English Walnut Reel Seats, and Olive Wraps with Straw and Black Tipping.

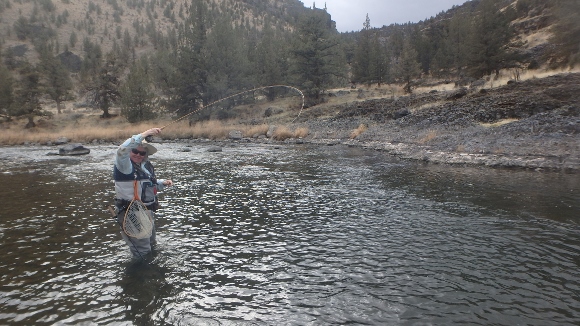
Earlier this week I tested out the new 9 ft. 0″  3 wt. rod on the Owyhee River in Eastern Oregon.  For Czech Nymphing, it roll/lob casts small to medium sized weighted nymphs great.  And, at 9 feet in length, it lets you get further out in the stream than traditional bamboo fly rods.  The soft tip is super-sensitive and light takes are easily felt.  I then put on a standard 3 wt floating fly line with a 10 ft. 5 wt dry fly leader.  The rod did well at casting large #8 Hopper patterns, as well as #20 PMD dries.  The slow action of this rod wants you to slow your dry fly casts down, but once you do, the rod loads deeply and turns over flies nicely with very little power put into the cast.  These rods will prove to be great longer, lighter line wt. bamboo fly rods for those anglers who utilize Czech Nymping in their fly fishing adventures.

My 9′ 0″ 3 wt Czech Nymphing Rod.

My 9′ 0″ 3 wt Czech Nymphing Rod

Building a Bamboo Fly Rod

This past December, Mary Ann decided she wanted to build her own bamboo fly rod. She has watched me for years and she has several of her own rods that I have built, but this would be the first one she built all on her own.  She chose to build a medium-fast action 8′  0″  6 wt rod.  There are many steps to building a custom bamboo fly rod but here is her build process captured in a just few photos.  Enjoy.

First step – Selecting the raw bamboo culm.

After the bamboo culm was cut to length, it was time to split it by hand into thin strips

Splitting thick strips into thinner strips.

After heat treating the strips and running them through a beveler to rough out the 60 degree angles, it was time to hand plane the strips down to final taper dimensions.

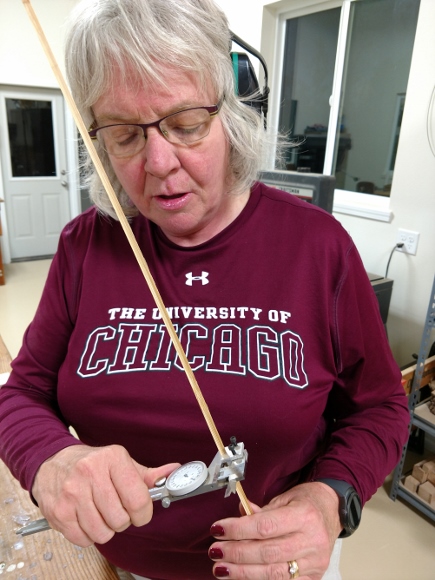
Measuring the final strip dimensions for accuracy.

The finished strips are ready for gluing.

Applying the glue to the strips.

Running the Glue Binder.

Gluing on the Ferrules.

Gluing on the Cork Grip.

Sanding the Cork Grip

The rod needs to get signed with Pen and Ink.

Hand Varnishing the Rod.

TIme to wrap the guides and varnish the wraps.

The finished Bamboo Fly Rod.

The finished Bamboo Fly Rod.