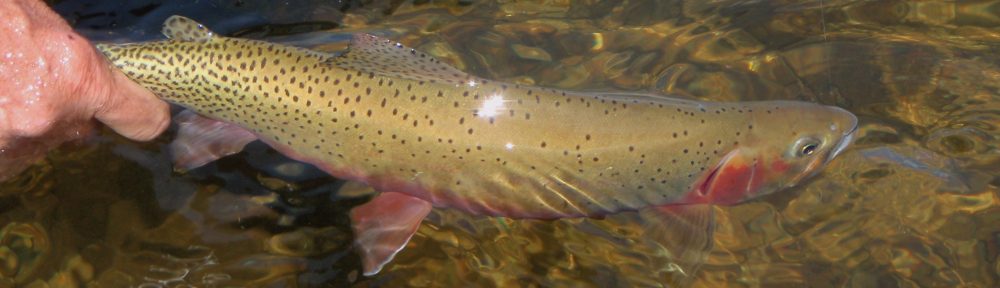
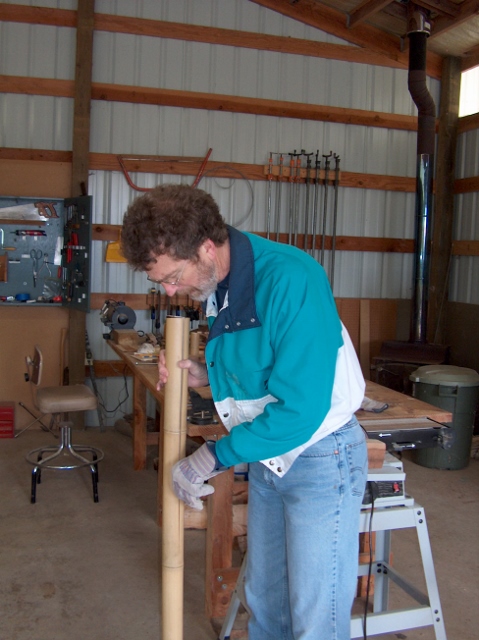
I recently started on another Hollow-Built Bamboo Switch Rod. I though it would be fun to document my process along the way, so here are some early photos. First, the bamboo is selected and split. For this Switch Rod, four pieces of matching bamboo were used.
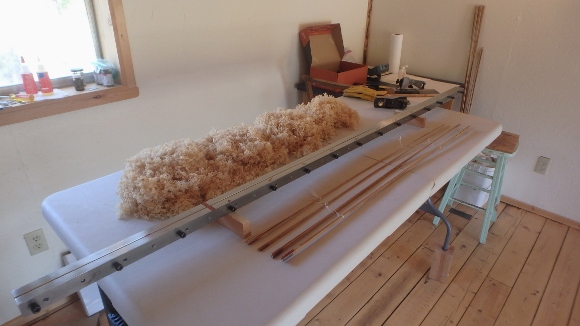
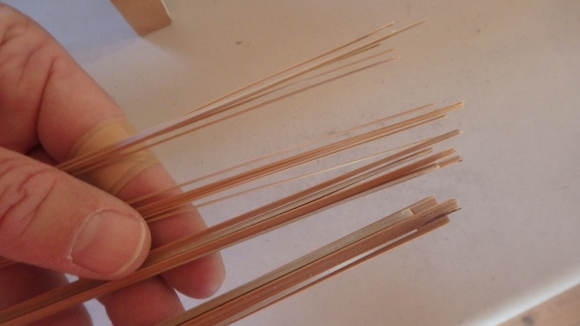
Each piece of bamboo is split into 18 to 20 pieces.

Splitting into narrow strips.
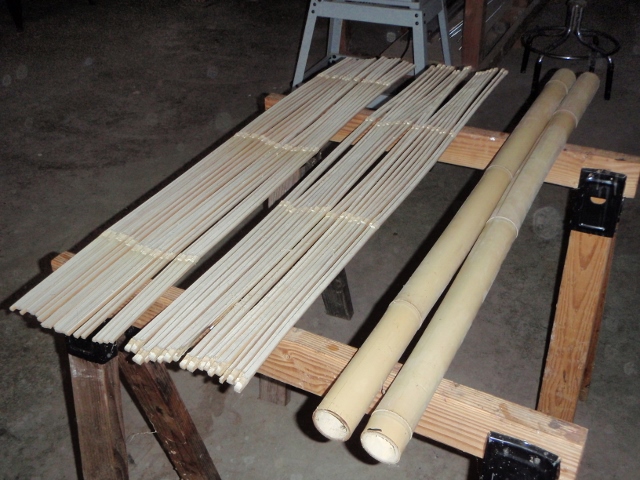
The strips for the Butt Section and Mid Section are done. The Tip sections still need to be split.
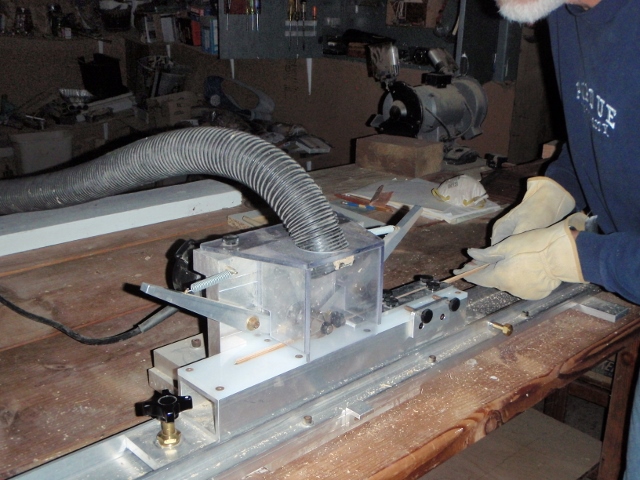
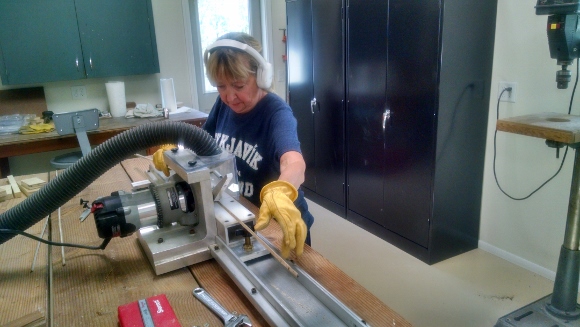
After heat treating, the bamboo strips are roughed out into a triangular shape on a Bellinger Beveler.
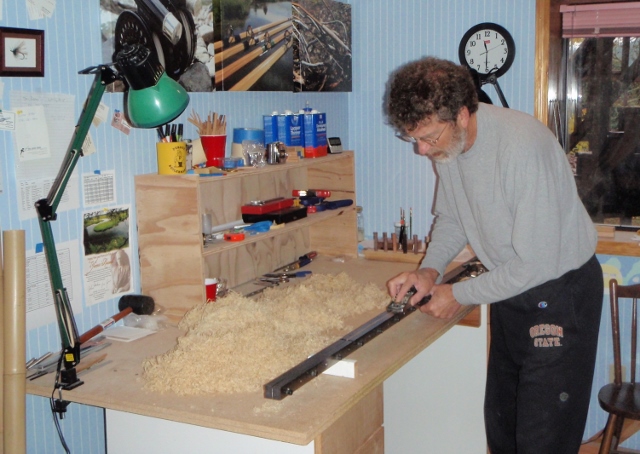
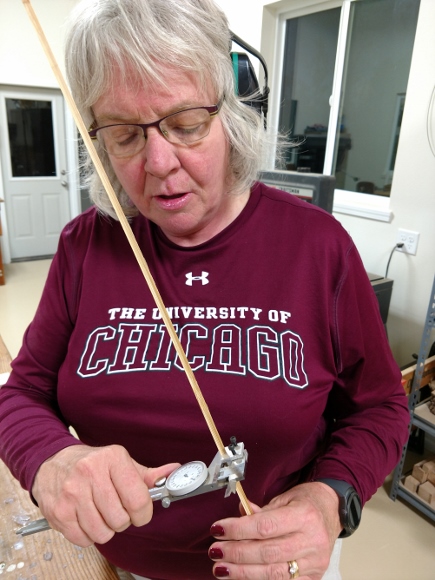
Hand Planing gets the strips down to the final tapered dimensions.
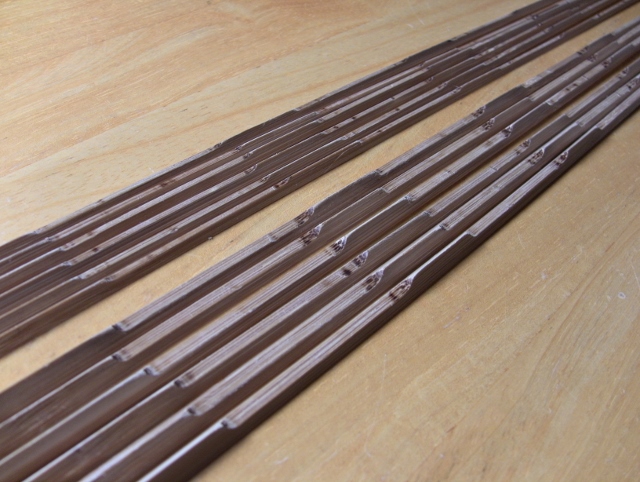
Each strip on the Butt and Mid Sections get hollowed with scalloped cuts on the inside edge.
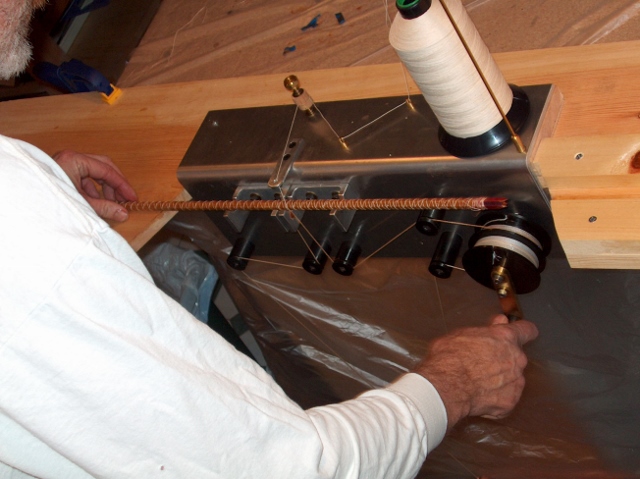
– The planed and hollowed bamboo strips are then glued together using Unibond 800 adhesive and a Bellinger Binder.
The thread holds the strips together under a constant tension until the glue cures.