My Workshop Lathes

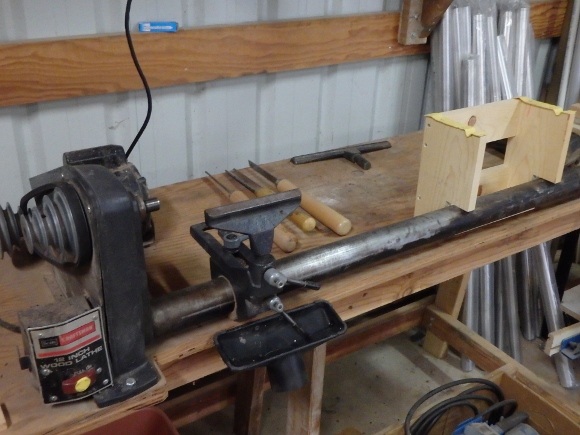
Larry asked a great question…what kind of lathe (s) do I use in my rod building?  I use two older lathes, neither of which is/was very expensive.  First, I have an older Craftsman wood lathe that I use for making reel seats, sanding cork grips, and sanding down rod tubes.

My Wood Lathe

My Wood Lathe

The wood fixture on the right side of the picture supports the end of butt sections when I sand down cork grips.  Two notches with strips of leather chamois applied work pretty well to support the ferrule end of the butt section while the grip end is secured in a 3-jawed chuck in the lathe head.

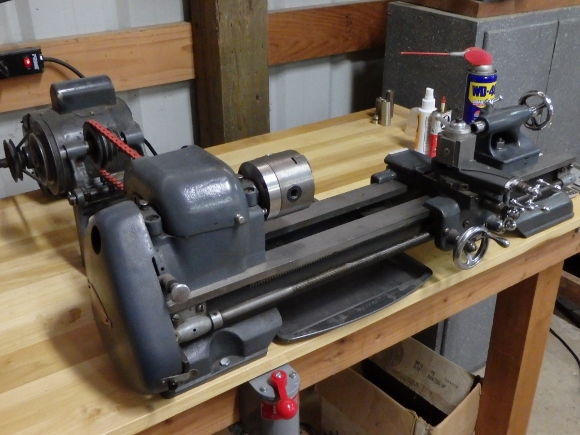
I also have a small Atlas/Craftsman Mk 1 metal lathe that I use to machine small metal parts (winding checks, trim pieces, etc.) as well as turning down bamboo for ferrules and grip sections.

My Small Metal Lathe

My Small Metal Lathe

While it would be fun to have newer and larger lathes in my shop, I find that these two do just about everything I need.  By the way…things don’t normally look this clean and organized in my shop…I cleaned up for the photos.

Building a Hollow-Built Bamboo Switch Rod – Chapter 2

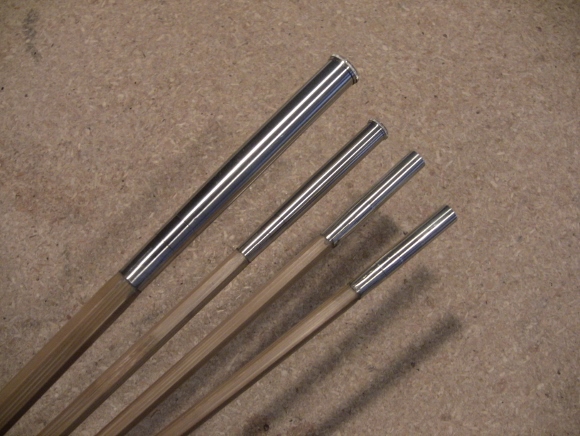
Work is continuing on the hollow-built switch rod.  The next step was to glue on and fit the ferrules.  There is a #20 ferrule on the Butt/Mid Sections and a #14 ferrule on the Mid/Tip sections.

Fitted Ferrules

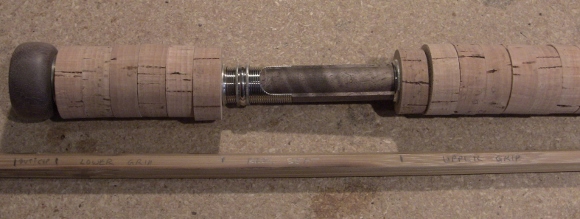
Then it was time to layout the grip and reel seat on the butt section.

Grip Section Layout

Grip Section Layout

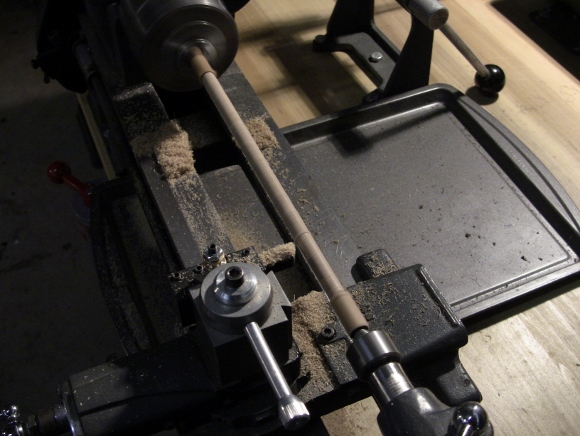
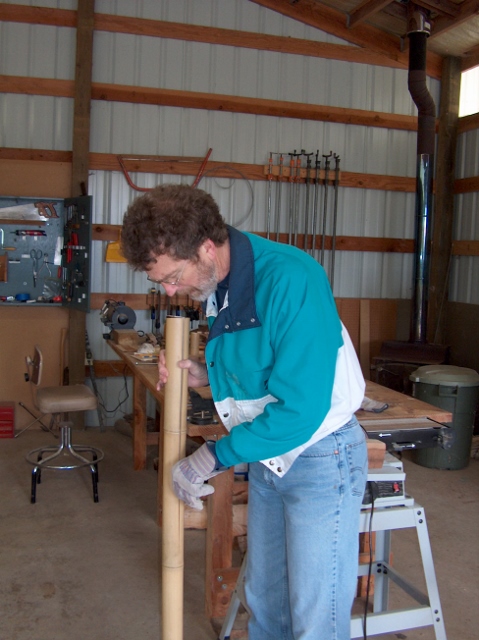
The butt section needed to be turned down on the lathe to accommodate the reel seat and lower grip.

Turning down the Butt Section for the reel seat and lower grip.

Turning down the Butt Section for the reel seat and lower grip.

The Butt Section was now ready for the upper cork to get glued on.

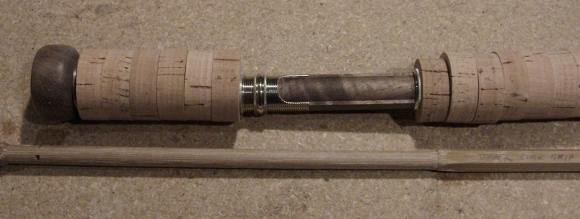
Turned down Butt Section

Turned down Butt Section

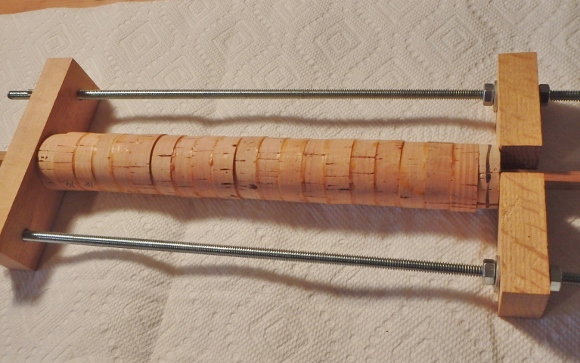
Cork for upper grip.

Cork for upper grip.

A little sidetrack…I needed to turn a reel seat and butt cap on my wood lathe.  I chose a new piece of highly figured English Walnut.

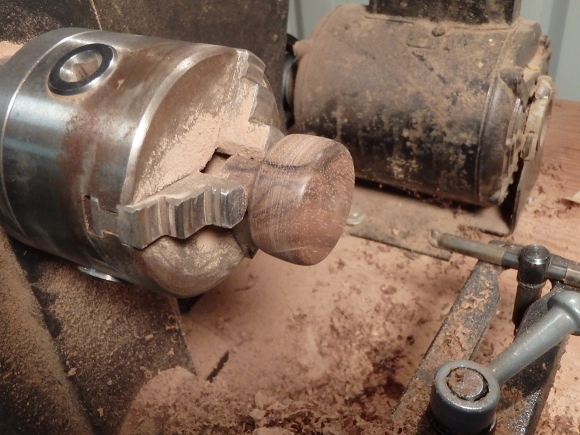
Turning the Butt Cap on the lathe.

Turning the Butt Cap on the lathe.

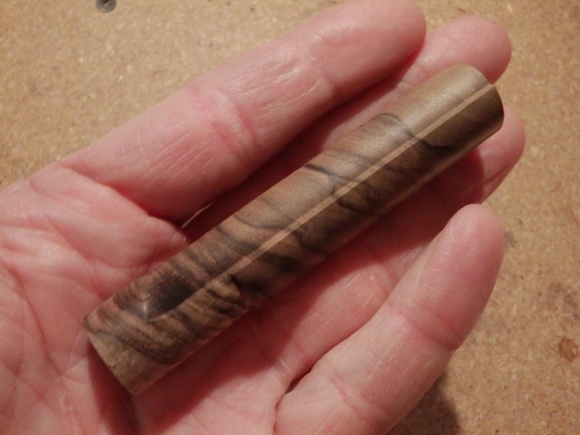
Turned Reel Seat.

Turned Reel Seat.

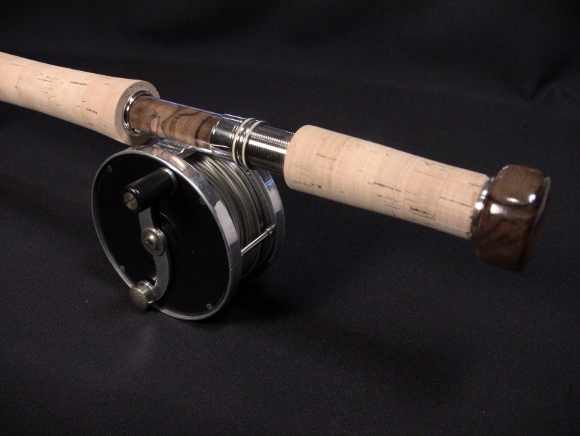
Now it was time to sand down the upper cork grip, glue on the reel seat and hardware, glue on the lower cork grip and sand it, and finally glue on the butt cap.  This resulting finished grip section of the rod came out looking great.

Finished grip section on my switch rod.

Finished grip section on my switch rod.

The next Chapter of my build process is making a custom winding check, wrapping the guides, varnishing, and final finish work.  I’ll share that in Chapter 3.


Fabulous Figured Walnut for Reel Seats

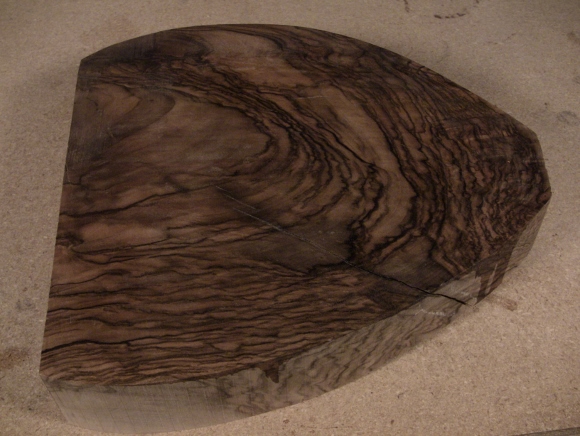
OK, maybe I get excited about some pretty boring things.  But, I was extremely lucky today to pick up an absolutely incredible piece of English Walnut for reel seats.  This piece measures about 13″ x 13″ x 3″.  While this looks like “ultra expensive” Circassian Walnut, it’s actually Oregon grown English Walnut.  It’s probably one of the finest pieces of walnut I’ve ever seen, and it will make some stunning reel seats.  While it has a sizeable crack running through it, I can work around it.  I should be able to get 12 or 14 reel seats from this piece.  I can’t wait to get out to my lathe and turn some pieces.

007 (580x436)

Reel Seats

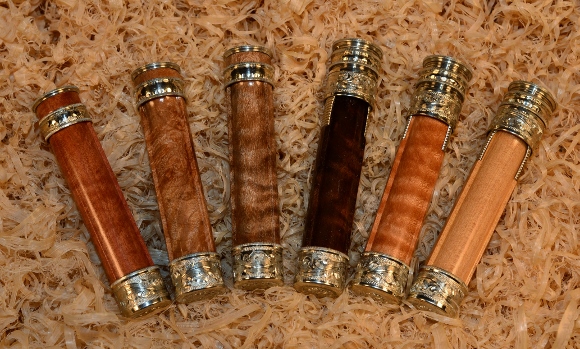
I was playing around with some reel seat inserts and engraved hardware today.  Here are a few of them from left to right:  Pink Ivory, Maple Burl, Curly Walnut, English Walnut, Curly Maple, and Madrone.  The engraving work on the hardware is by John Hyde.

Good Reel Seat Cropped (580x349)

Building a Hollow-Built Bamboo Switch Rod – Chapter 1

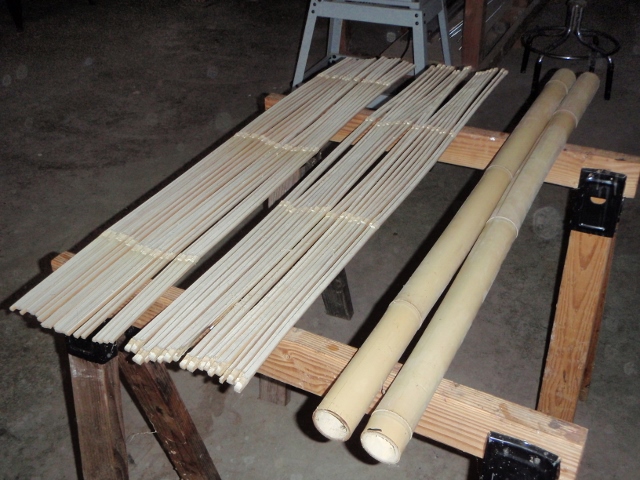
I recently started on another Hollow-Built Bamboo Switch Rod.  I though it would be fun to document my process along the way, so here are some early photos.  First, the bamboo is selected and split.  For this Switch Rod, four pieces of matching bamboo were used.

Each piece of bamboo is split into 18 to 20 pieces.

Each piece of bamboo is split into 18 to 20 pieces.

Splitting into small strips.

Splitting into narrow strips.

The strips for the Butt Section and Mid Section are done.  The Tip sections still need to be split.

The strips for the Butt Section and Mid Section are done. The Tip sections still need to be split.

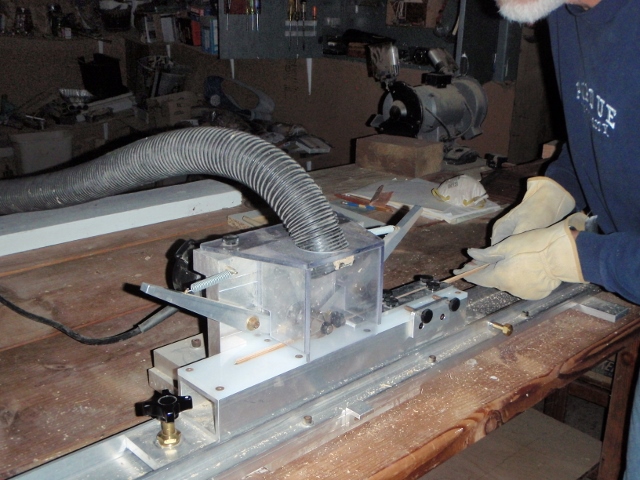
After heat treating, the bamboo strips are roughed out into a triangular shape on a Bellinger Beveler.

After heat treating, the bamboo strips are roughed out into a triangular shape on a Bellinger Beveler.

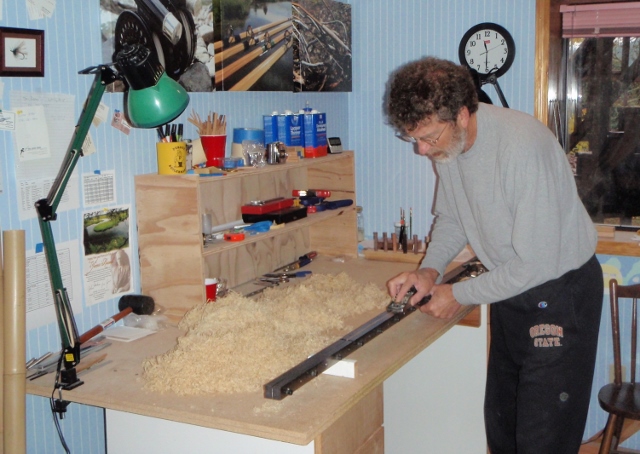
Hand Planing gets the strips down to the final tapered dimensions.

Hand Planing gets the strips down to the final tapered dimensions.

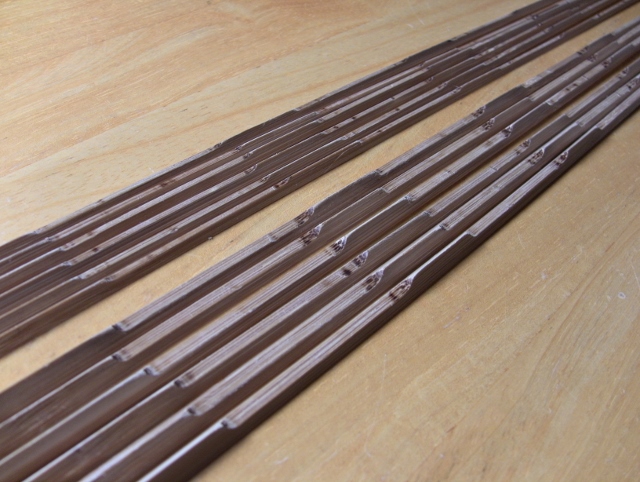
Each strip on the Butt and Mid Sections get hollowed with scalloped cuts on the inside edge.

Each strip on the Butt and Mid Sections get hollowed with scalloped cuts on the inside edge.

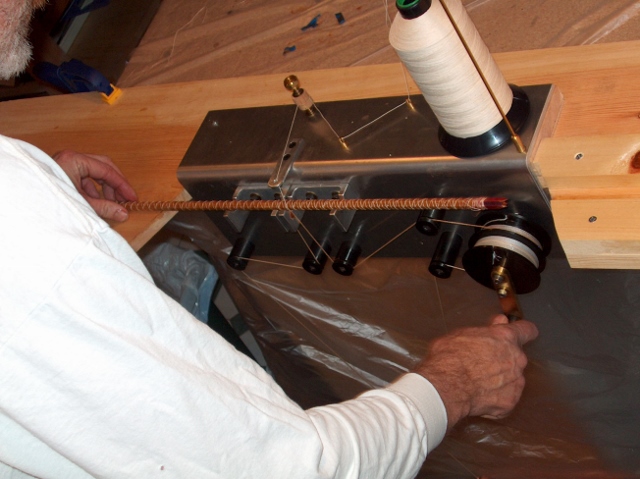
- The planed and hollowed bamboo strips are then glued together using Unibond 800 adhesive and a Bellinger Binder. The thread holds the strips together under a constant tension until the glue cures.

– The planed and hollowed bamboo strips are then glued together using Unibond 800 adhesive and a Bellinger Binder.
The thread holds the strips together under a constant tension until the glue cures.